Update: This article was last updated on January 6, 2026, to reflect the accuracy and up-to-date information on the page.
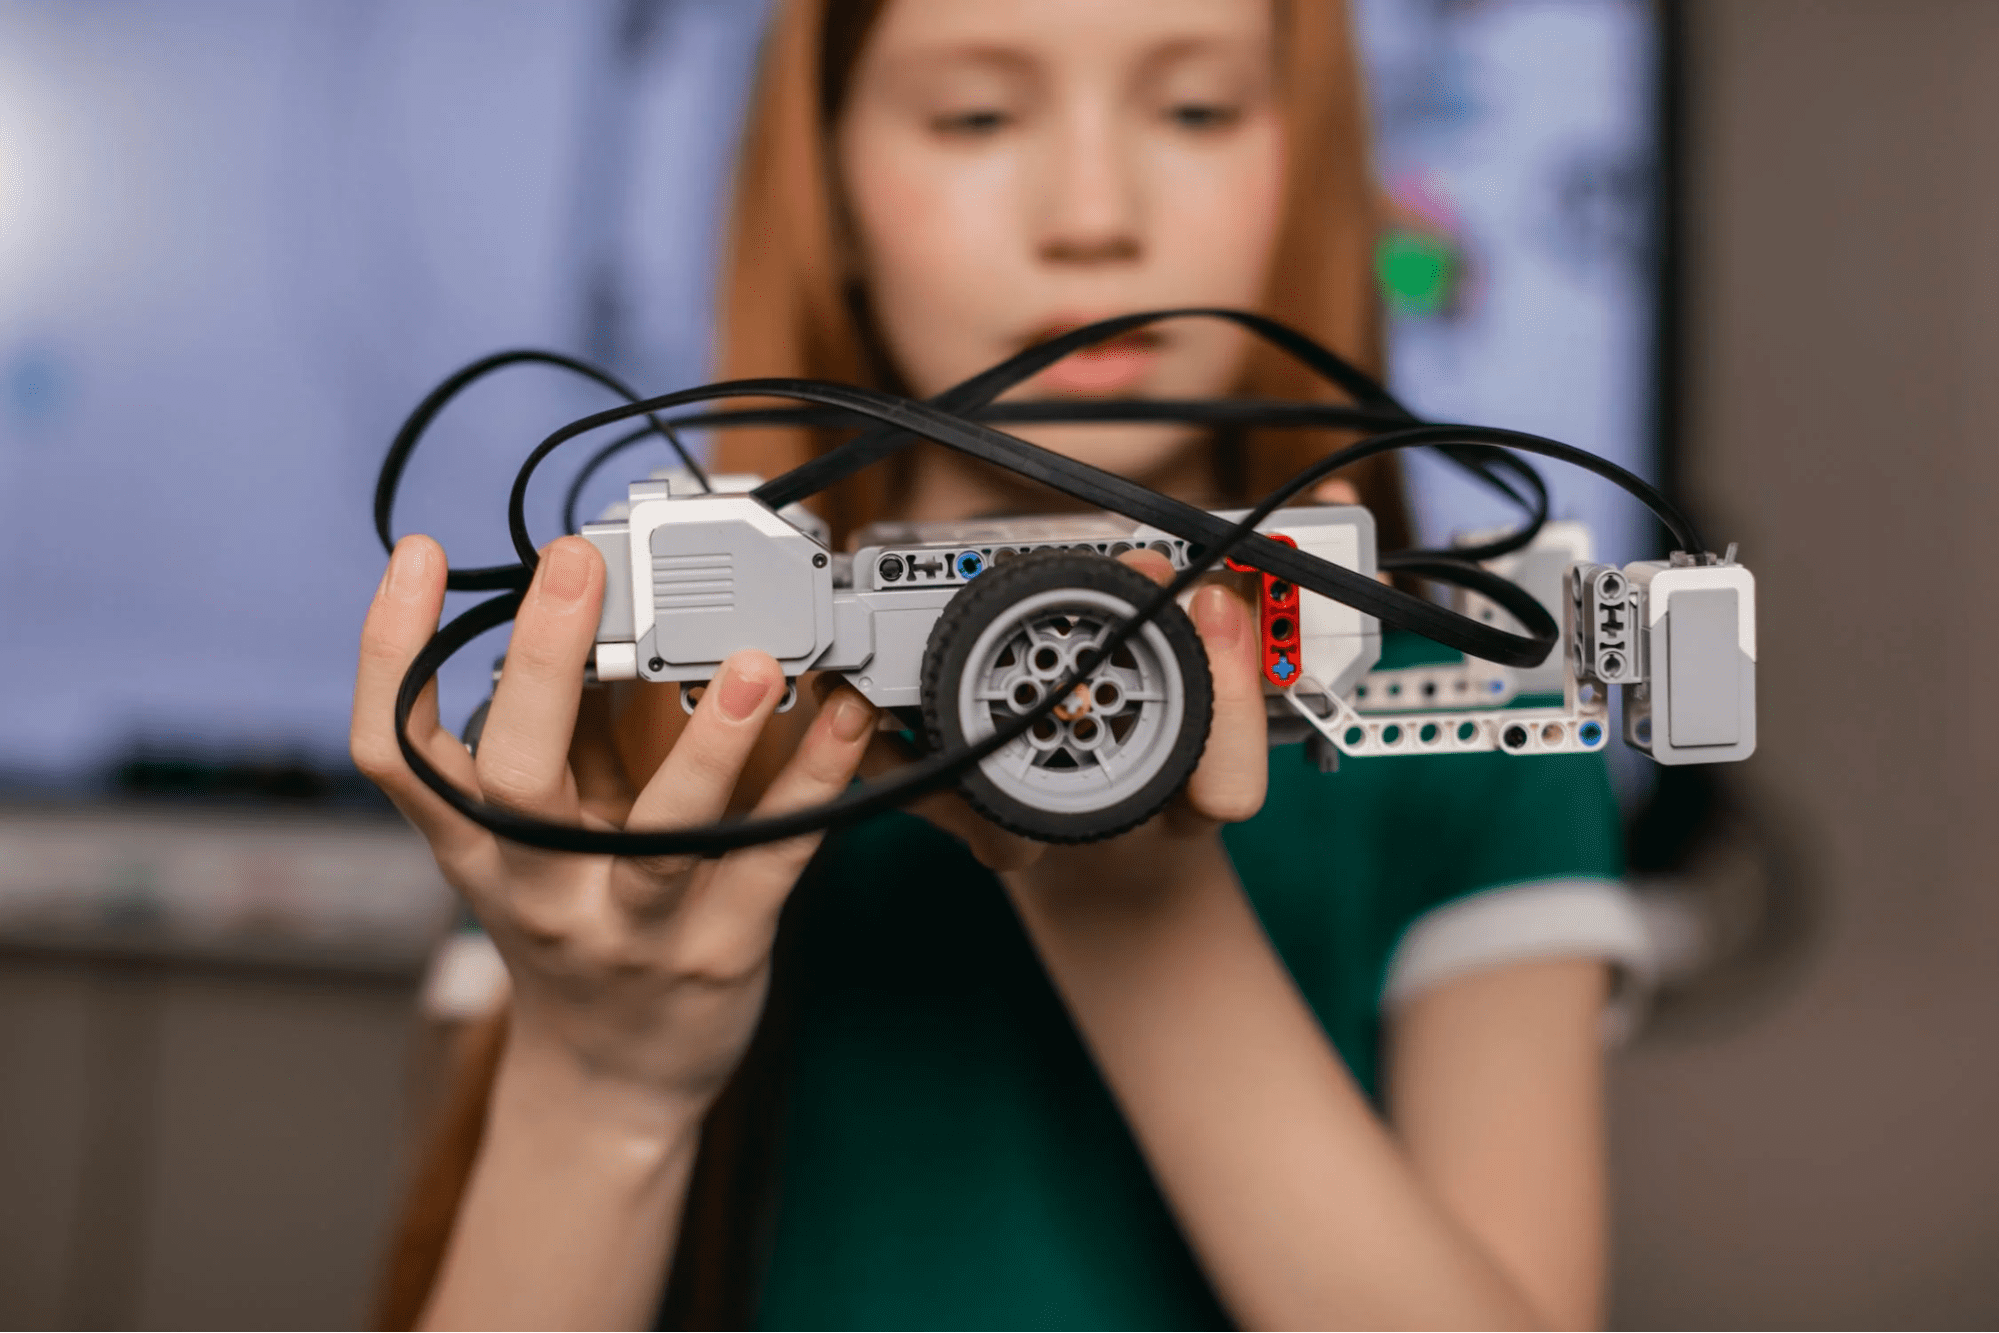
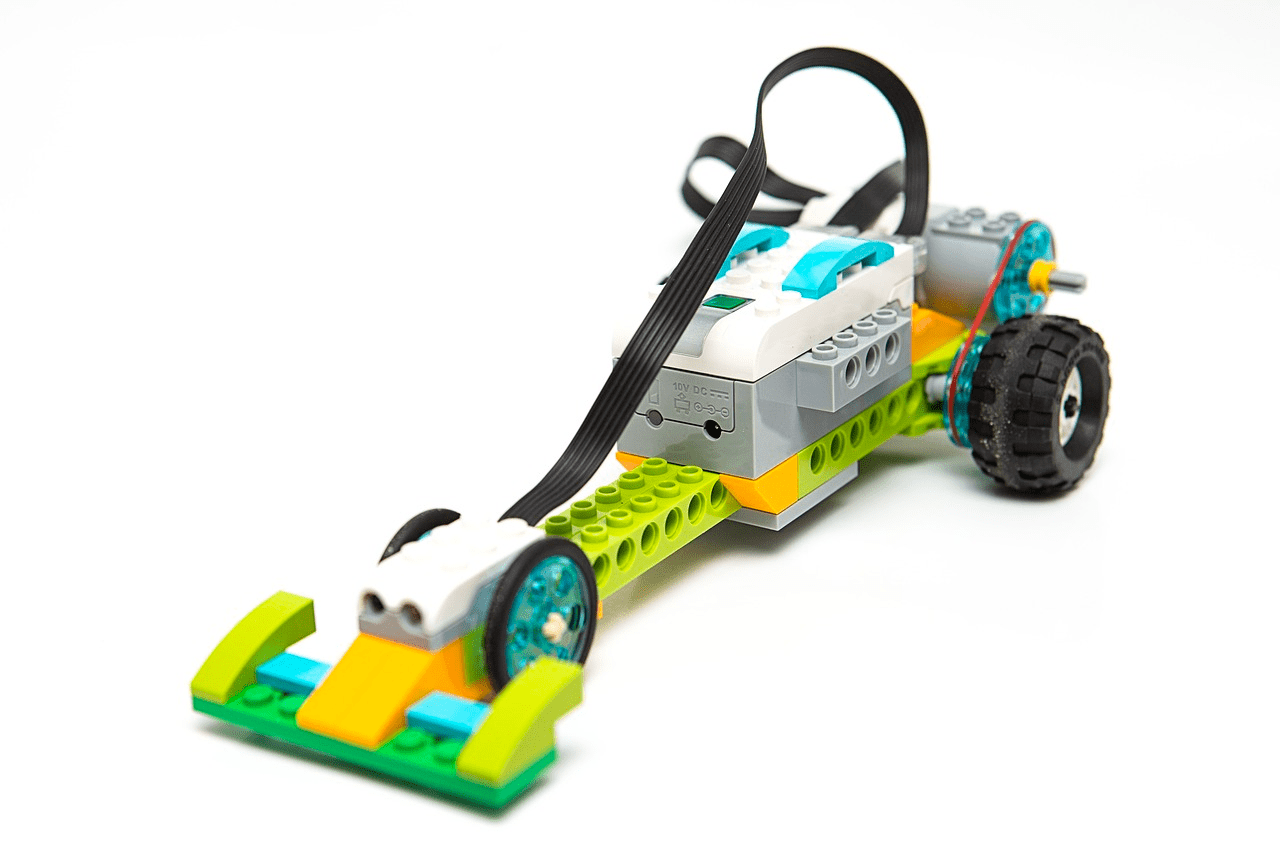
Blending entertainment with education is easy with LEGO coding. Sounds complicated, right? What if I told you that this fun experience also involves building a LEGO robot? Yes, you read that correctly! Building a LEGO robot lets you unleash your creativity while offering a fantastic introduction to coding classes for kids. In this step-by-step guide by Moonpreneur, we’ll dive into the exciting journey of building and coding a LEGO robot to perform various tasks, making learning both fun and educational.
| Fascinating Fact | |
|---|---|
| A long time ago, LEGO used the logos of real oil companies on some of their LEGO sets. These companies were Shell, Esso, and Exxon. | |
| In 1992, LEGO created their pretend oil company called "Octan." They took away the logos of Esso and Exxon but still kept Shell in some special sets they made for promotion. | |
WHY LEGO ROBOTICS?
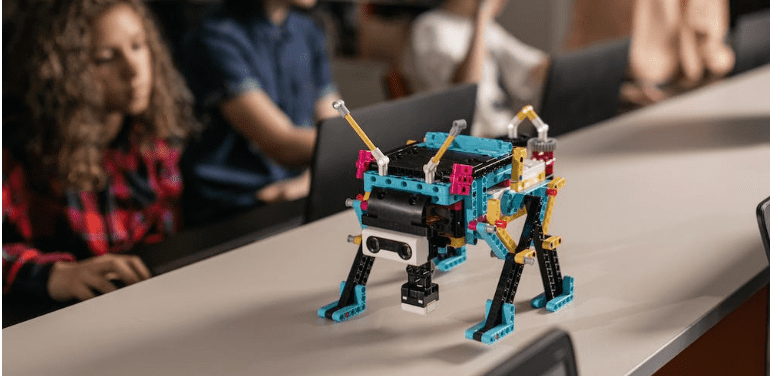
LEGO Robotics, also known as Lego coding, is an educational platform that combines the versatility of LEGO building blocks with the principles of computer programming and engineering. It offers a hands-on, interactive way for individuals of all ages to explore robotics and develop essential STEM (Science, Technology, Engineering, and Mathematics) skills. Whether you’re a beginner or an experienced programmer, LEGO coding robots provide a fantastic canvas for creative exploration.
5 TYPES OF LEGO ROBOT
| Name | Difficulty Level |
|---|---|
| RoboExplorer | Intermediate |
| Technic Car | Beginner |
| Mindstorms EV3 | Advanced |
| Creator Robot | Intermediate |
| Boost Bots | Beginner |
GETTING STARTED
Suggested reading
1. Acquire the Materials
Before you begin, you’ll need a few essential materials:
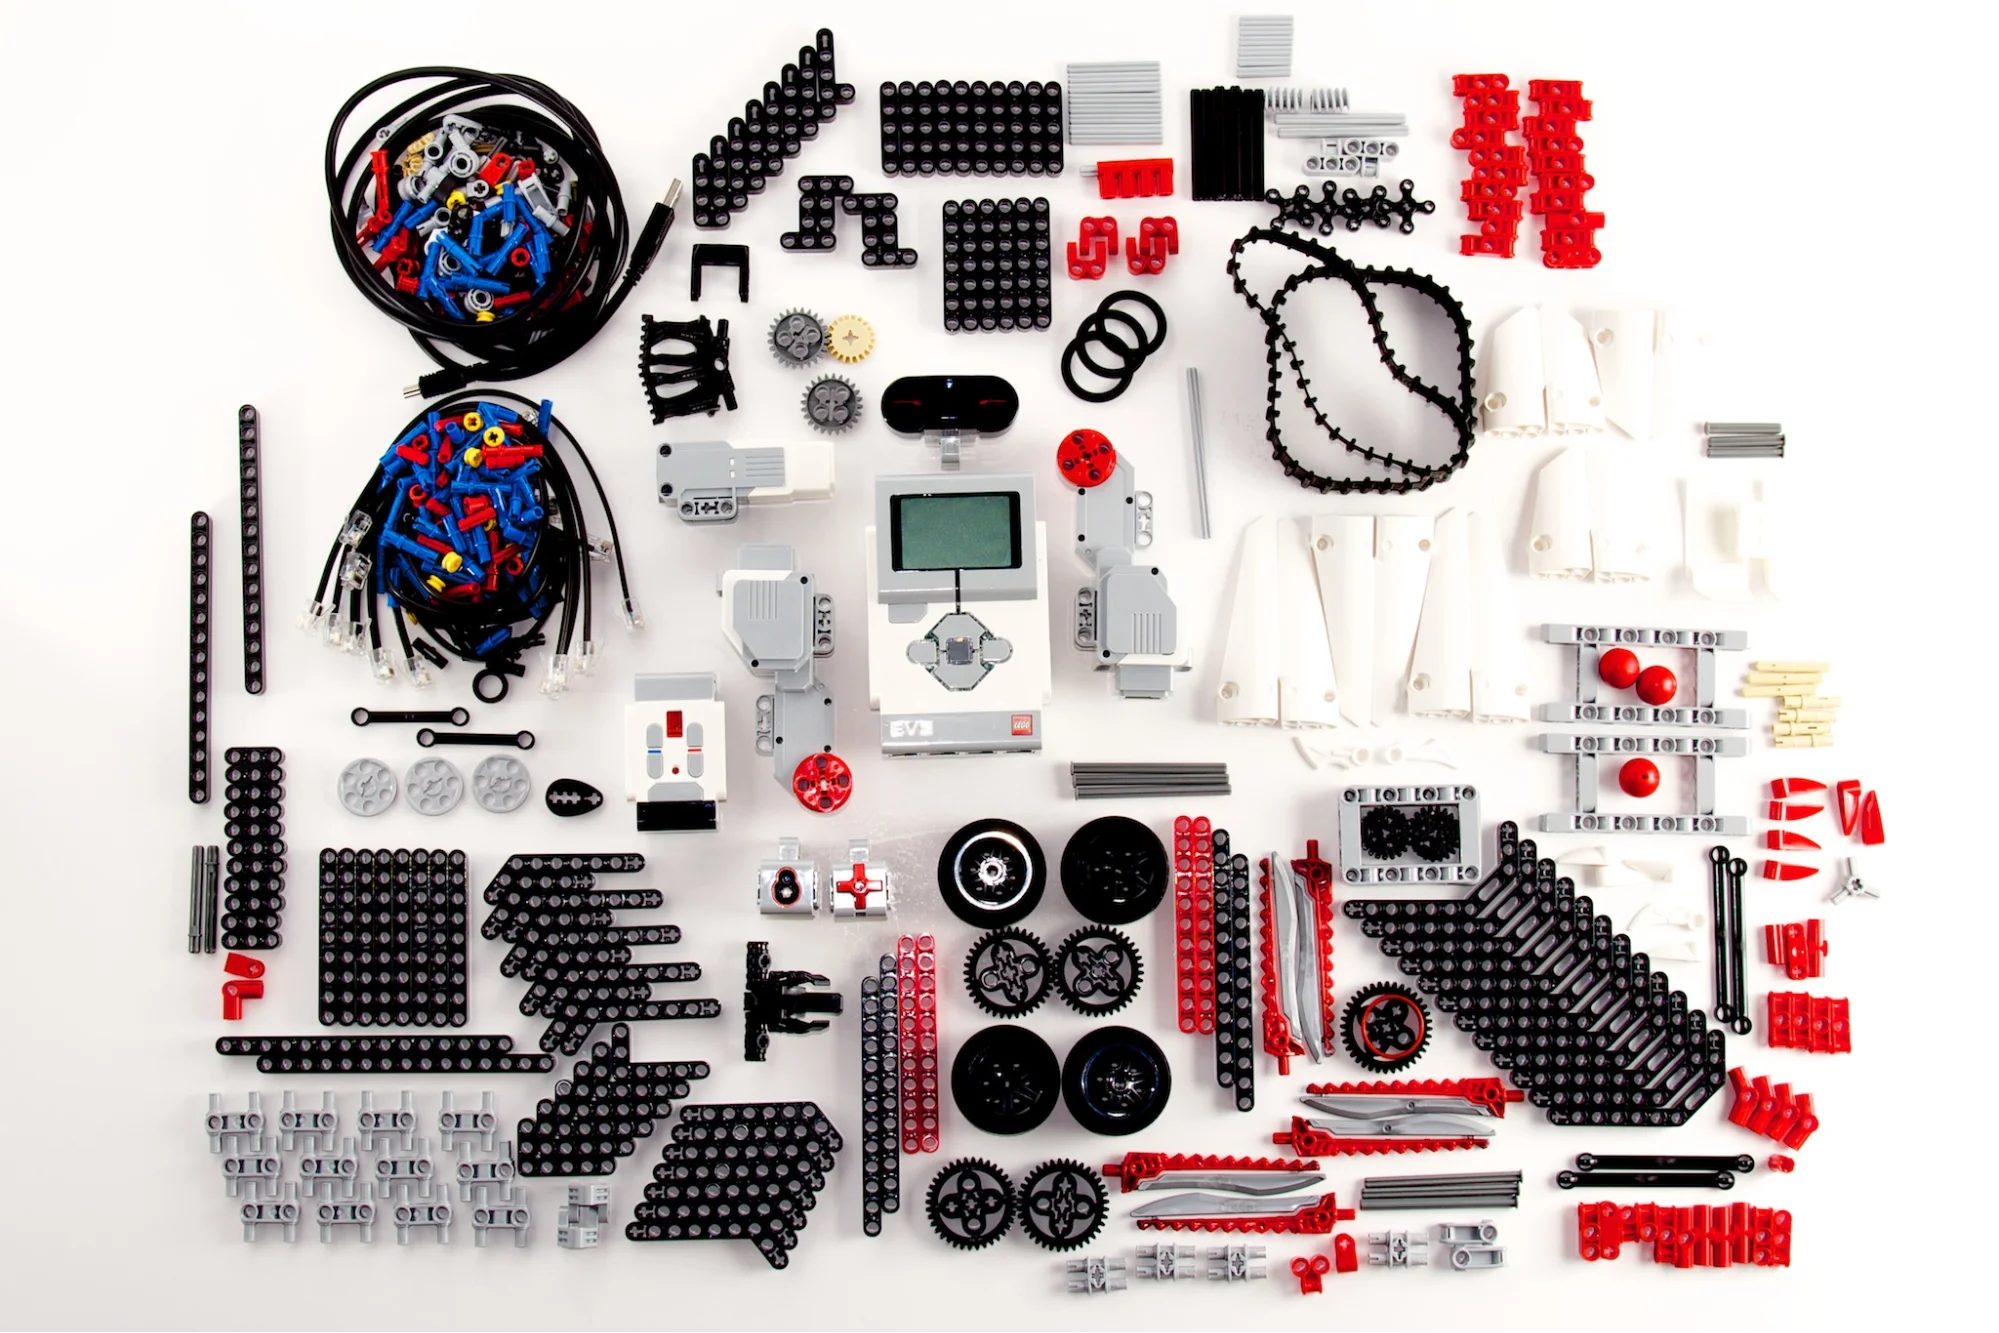
- The LEGO Mindstorms Kit: This kit is a popular LEGO coding kit that includes LEGO bricks, motors, sensors, and a programmable brick, serving as the brain of your robot.
- A Computer or Tablet: You’ll need a device to write and upload code to your LEGO robot.
- LEGO Mindstorms Software: Download and install the LEGO Mindstorms software on your computer to begin LEGO coding. You can find it on the official LEGO website.
| Microsoft Windows | Apple Macintosh |
|---|---|
| Windows Vista (32/64-bit) with the latest service packs or later versions of Windows | MacOS 10.6 with the latest service packs or later versions of MacOS |
| Dual-core processor 2.0 GHz or better | Dual-core processor 2.0 GHz or better |
| 2GB of RAM or more | 2GB of RAM or more |
| 2GB of available hard disk space | 2GB of available hard disk space |
| XGA display (1024 x 768) | XGA display (1024 x 768) |
| 1 available USB port | 1 available USB port |
2. Assemble Your LEGO Robot
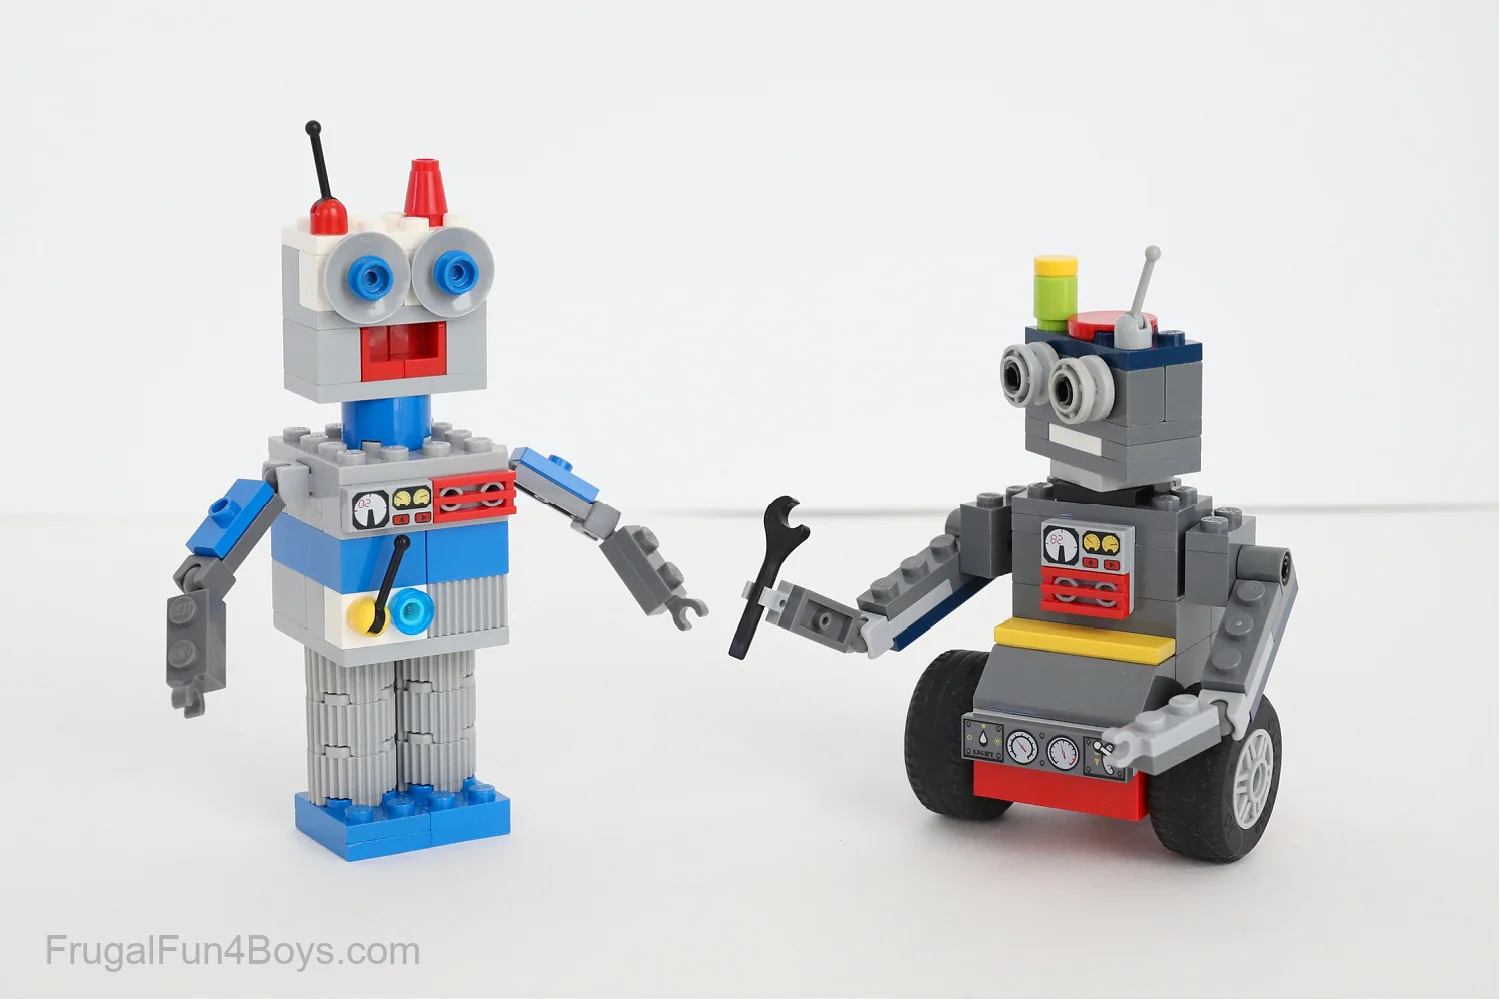
Use LEGO coding to build your robot by following the instructions in the LEGO Mindstorms kit to build your robot. These kits come with various designs and models, so you can choose the one that suits your preferences. Do not forget to connect the motors and sensors correctly.
3. Connect the Hardware
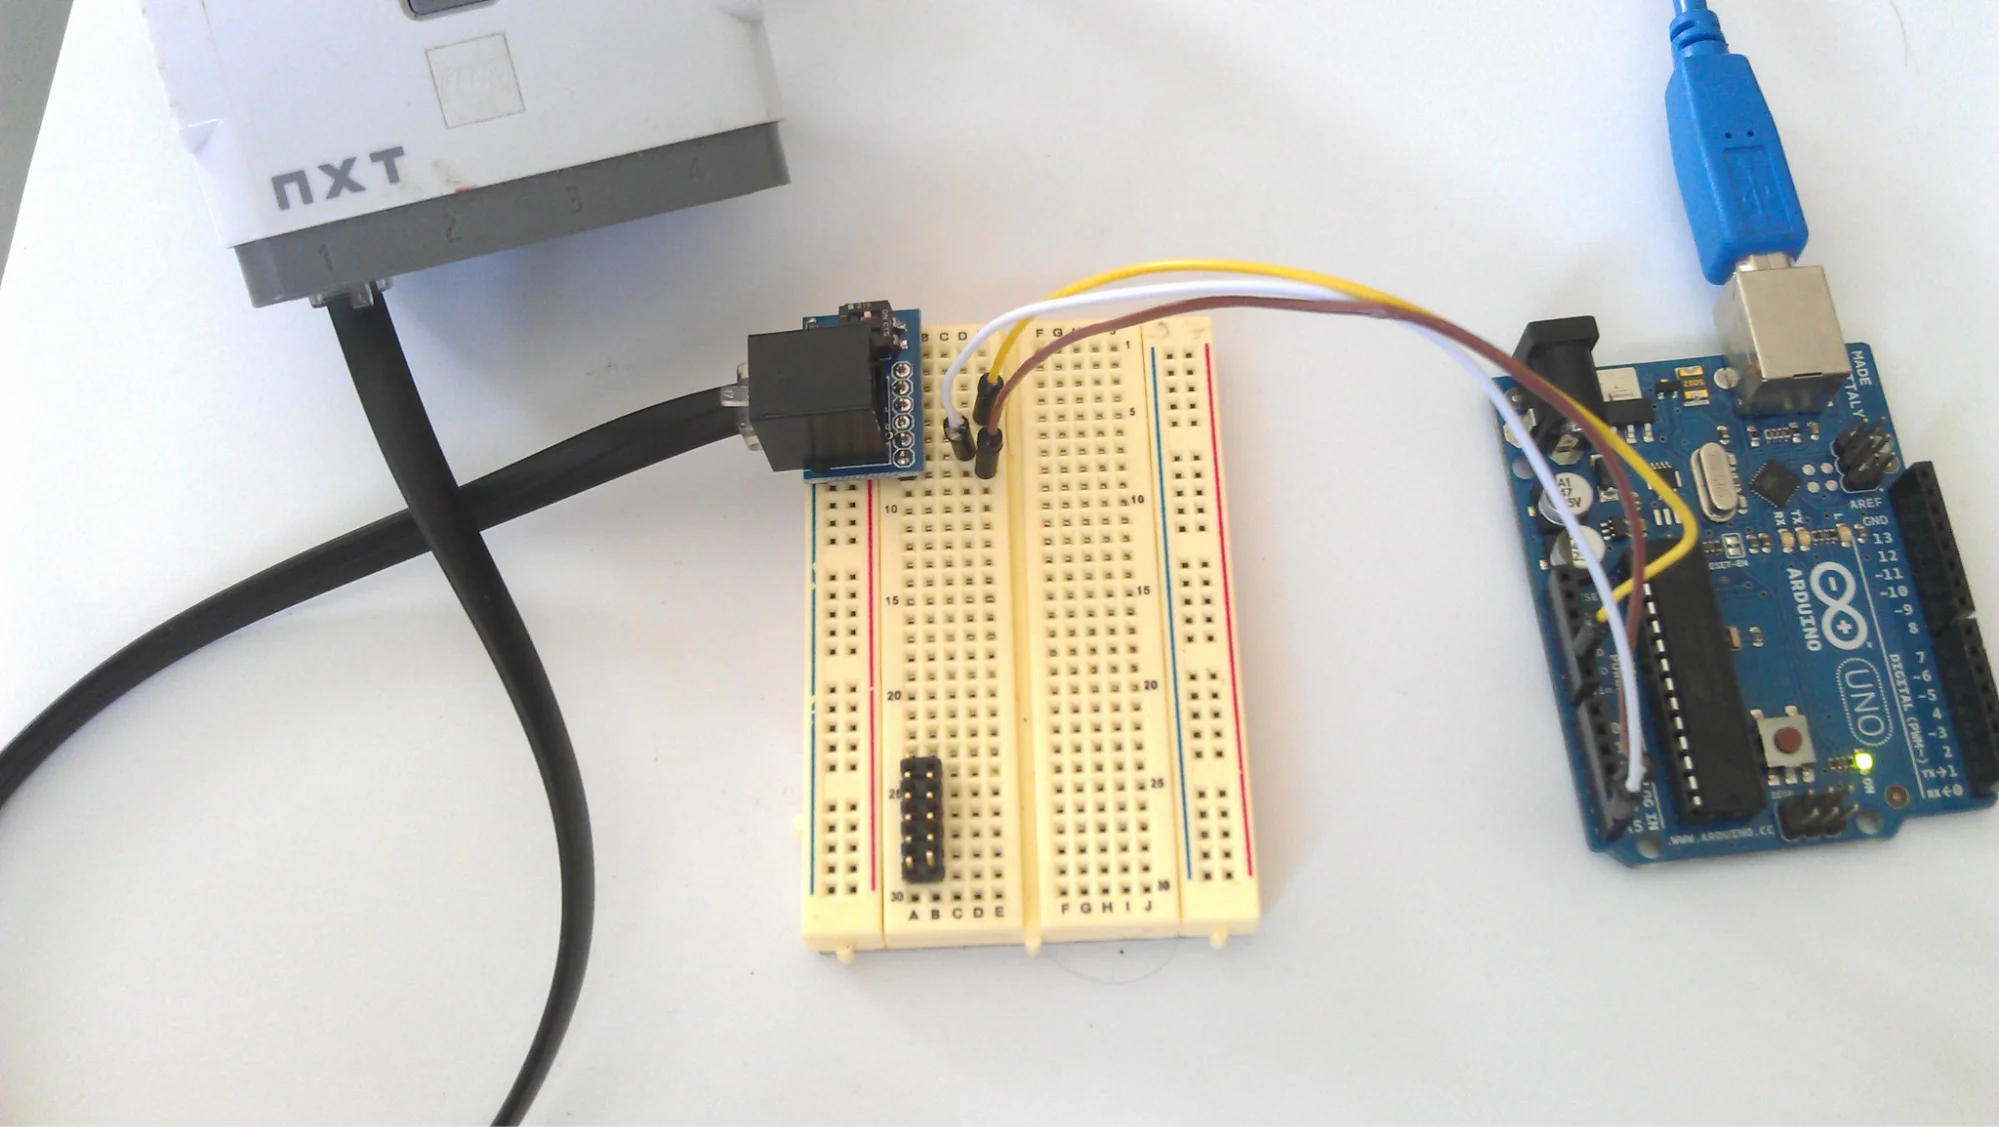
Once your robot is built, connect it to your computer using a USB cable. This connection will enable you to upload your code to the robot. Thee building instructions are available in PDFs for download from LEGO.com/mindstorms.
CODING YOUR LEGO ROBOT
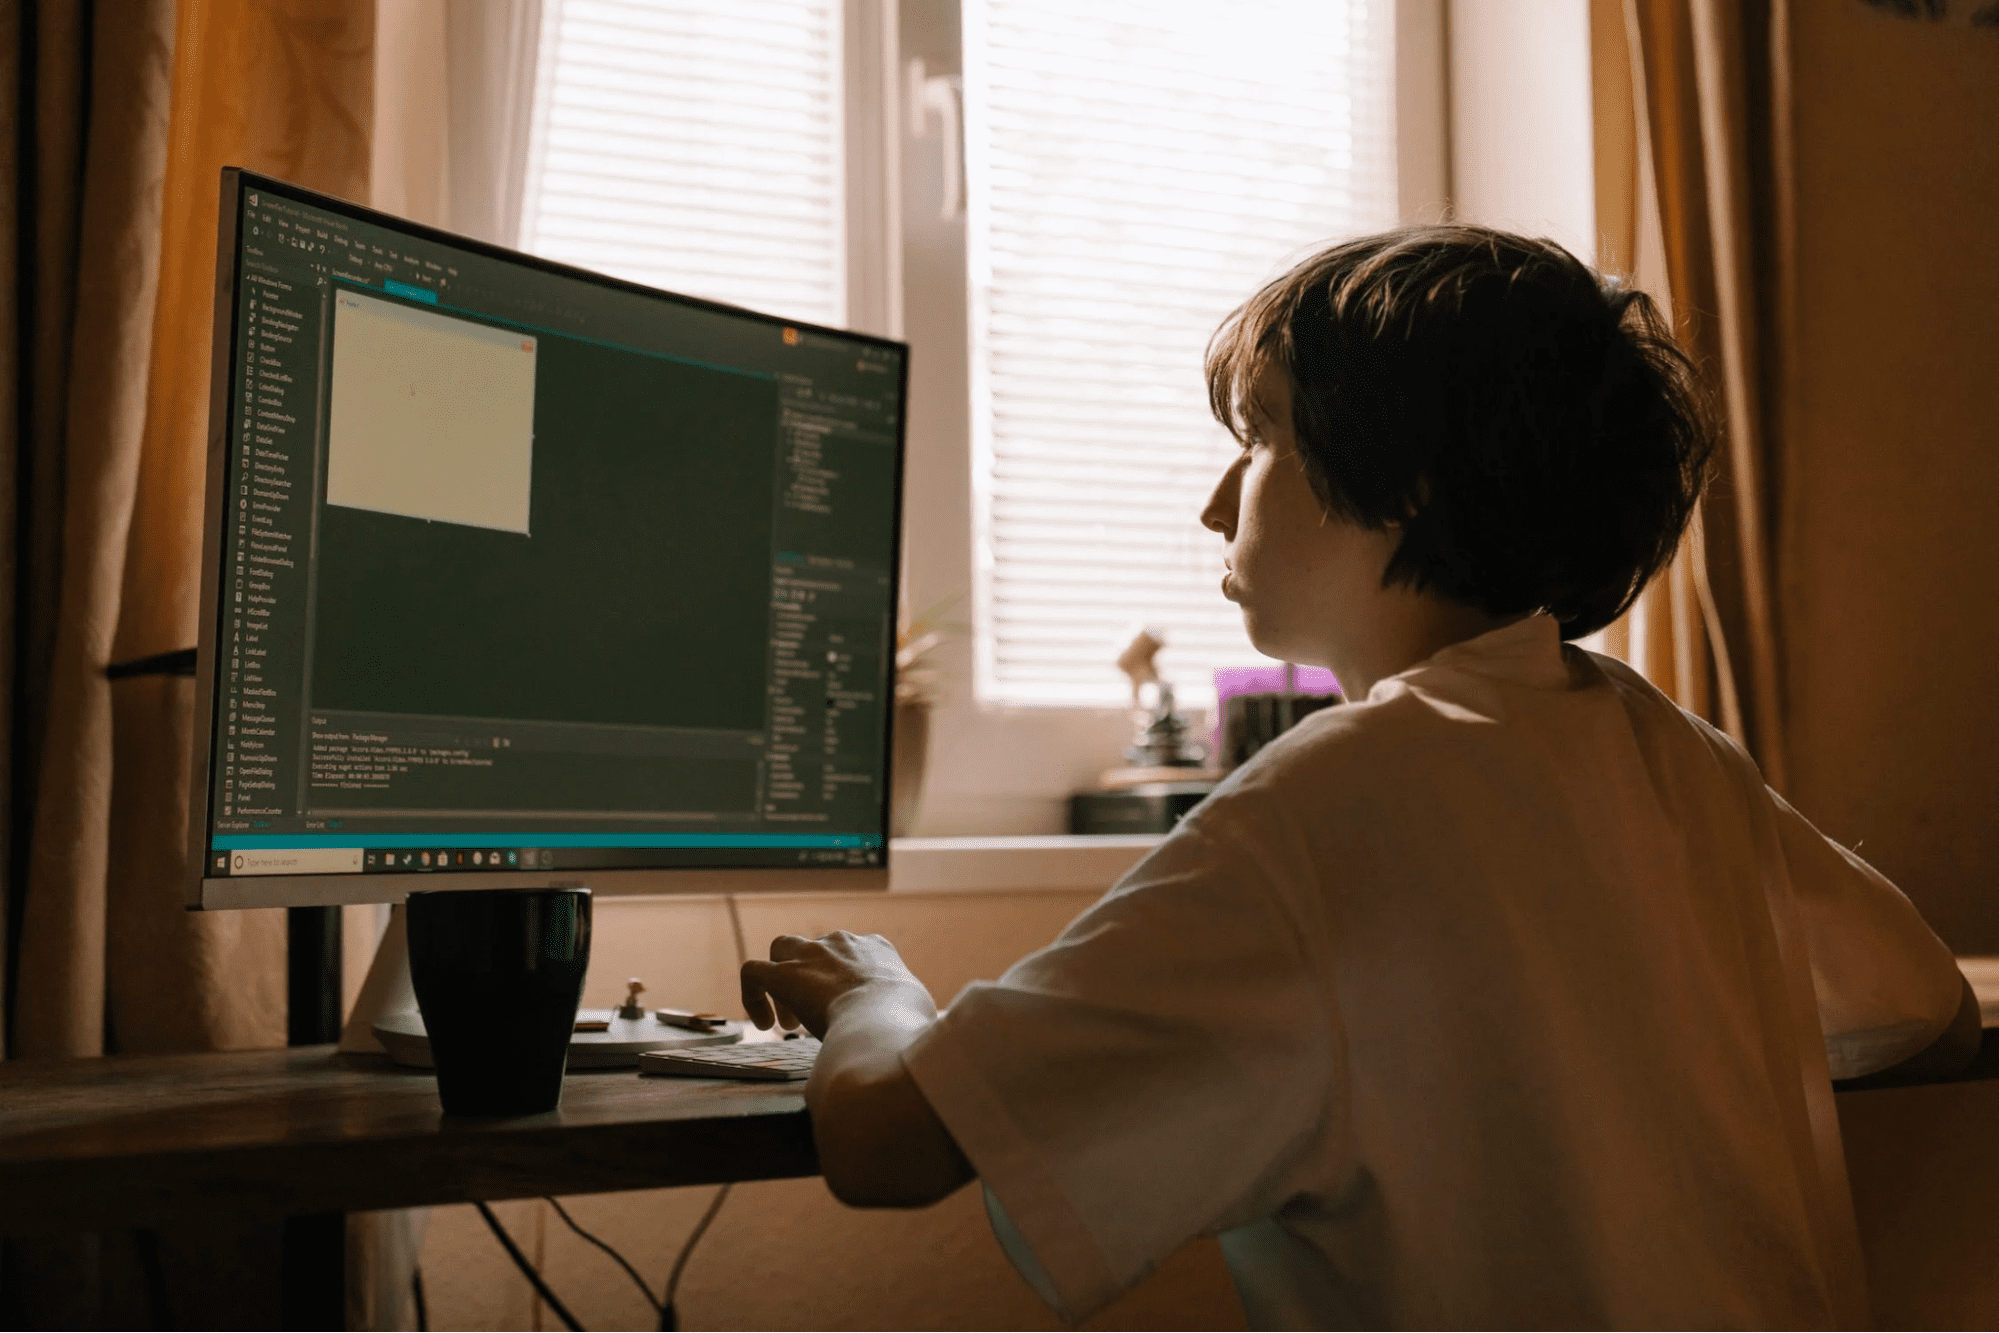
Now comes the exciting part: coding your LEGO coding robot to make it move, react to its surroundings, and perform various tasks. The LEGO Mindstorms software provides a user-friendly interface that makes coding accessible for beginners and more advanced users.
This is how you should approach it.
1. Open the LEGO Mindstorms Software
Launch the software on your computer. You’ll be greeted with a simple, drag-and-drop programming environment that uses colorful blocks to represent different commands and actions.
2. Start Programming
Begin by dragging and dropping programming LEGO blocks onto the canvas. These blocks represent various actions and functions, such as moving forward, turning, and responding to sensor input. Connect the blocks to create a sequence of instructions.
3. Test Your Code
Before sending your LEGO robot on its mission, it’s a good idea to test your code. Use the software’s simulation mode to see how your robot will behave based on your programming. This allows you to fine-tune your code and make adjustments as needed.
4. Upload Your Code
Once you’re satisfied with your code, connect your robot to the computer and upload the program. Your robot is now ready to execute your commands in the physical world!
ADVANCED PROGRAMMING TECHNIQUES
As you become more comfortable with LEGO robotics, you can explore more advanced programming techniques, such as:
✔️ Sensors: Utilize the built-in sensors (e.g., ultrasonic, color, touch) to make your robot respond to its environment intelligently.
✔️Loops: Implement loops to make your robot perform repetitive tasks efficiently.
✔️Variables: Use variables to store and manipulate data within your programs.
✔️Remote Control: Create programs that allow you to control your robot remotely, adding an element of interactivity.
RESOURCES FOR FURTHER LEARNING
To further your LEGO robotics and coding journey, consider exploring these resources:
☑️LEGO Education: The official LEGO Education website offers a plethora of tutorials, challenges, and educational content to enhance your skills.
☑️LEGO Mindstorms Community: Join the LEGO Mindstorms online community to connect with fellow enthusiasts, share your projects, and seek advice.
☑️Books and Online Courses: Numerous books and online courses are available to help you dive deeper into LEGO robotics and coding.
Conclusion
Lego coding is an amazing way to learn programming, as building a LEGO robot and coding it is a fantastic way to learn programming, problem-solving, and making robotics for kids fun and engaging. It’s an activity that can be enjoyed by individuals of all ages, making it an excellent choice for both educators and hobbyists. So, grab your LEGO Mindstorms kit, unleash your creativity, and embark on an exciting journey of building and coding your own robotic creations!
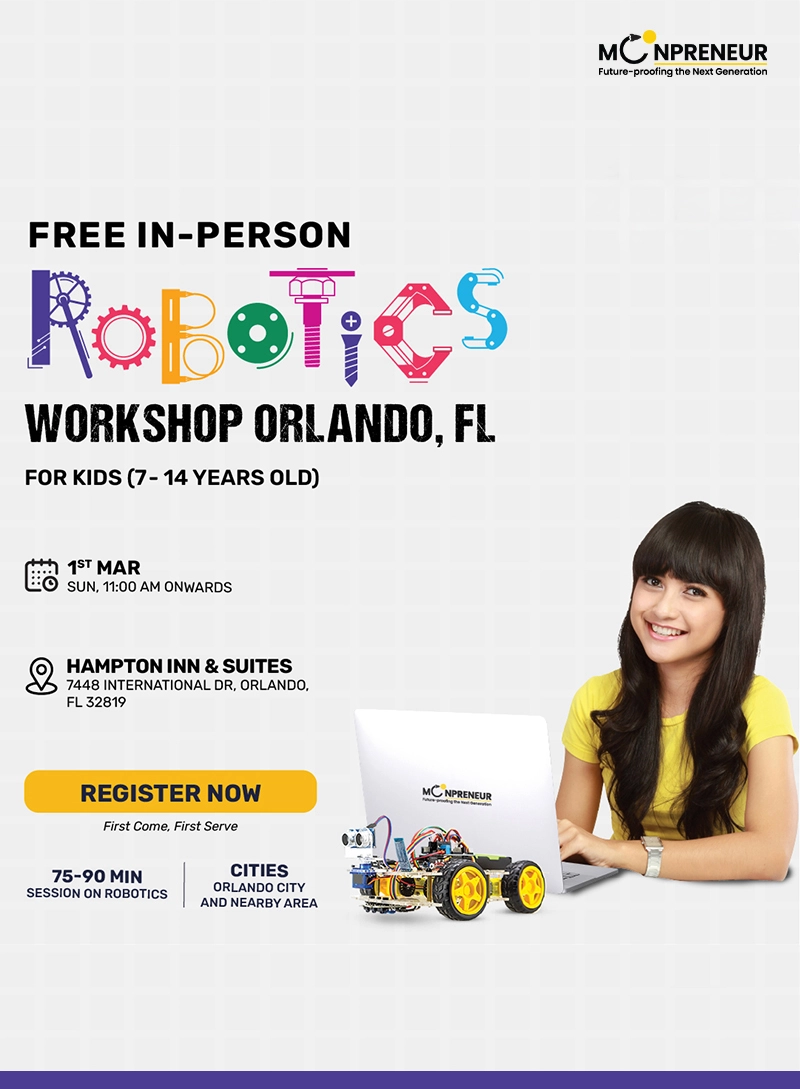
Want to make your child future-ready with Robotics? Moonpreneur offers a tailor-made program. Reserve a spot in our free 60-minute workshop today and introduce them to the amazing world of robotics and innovations!








How long does it take to build a LEGO robot?
There are 10 bags containing Lego pieces. On average, it took approximately 21 minutes to complete assembling each bag.
Is LEGO discontinuing robotics?
In October 2022, Lego Group announced Lego Mindstorms discontinuation by year-end, with STEAM and Robotics Education solutions continuing under the LEGO Education Series.
Suggest a lego robot kit that will give hands-on experience and STEAM learning fun for son who is in primary school.
LEGO Education SPIKE Essential makes learning STEAM (Science, Technology, Engineering, Arts, and Math) fun for primary school students. It has 449 pieces that include special technology parts, regular LEGO bricks, and fun characters. Kids can explore STEAM concepts through storytelling and hands-on play.