Explore Upcoming Workshops Near You and Ignite Your Passion for Innovation. Reserve a Seat today!

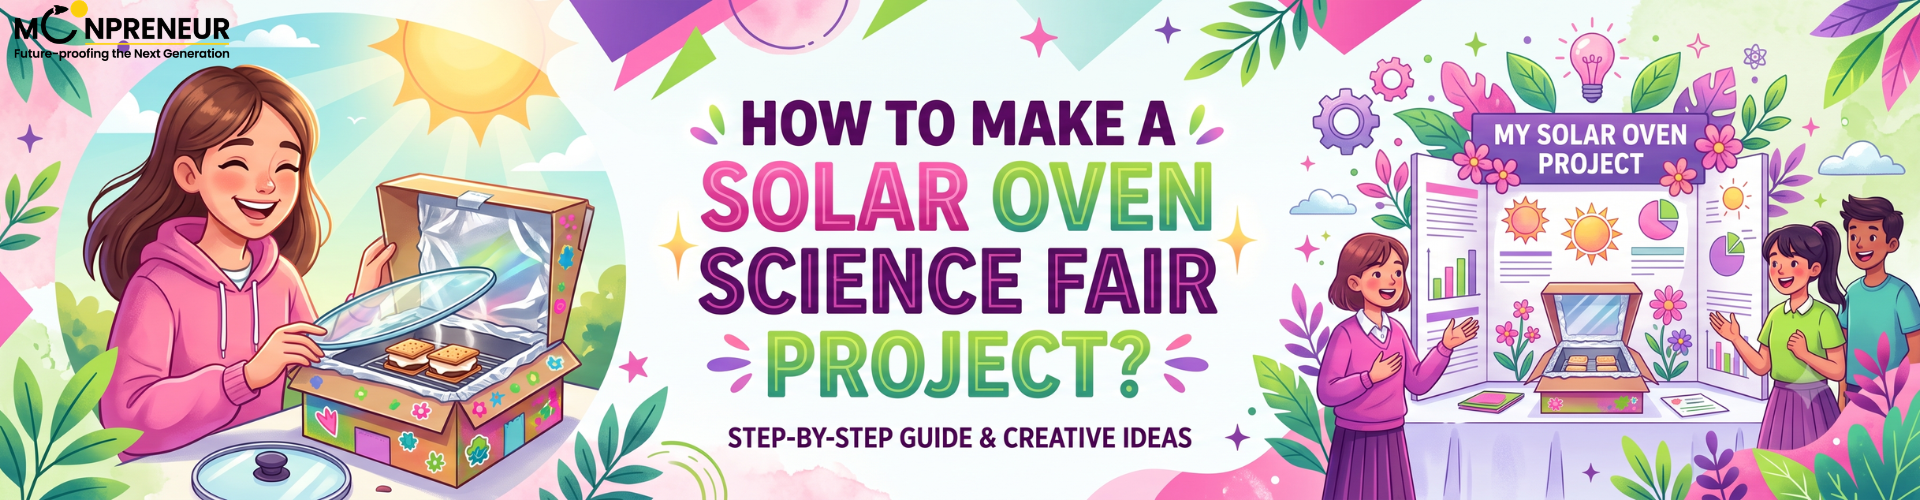
How To Make Solar Oven Science Fair Project
Build a future with Moonpreneur
DEVELOP TECHNICAL, SOFT, &
ENTREPRENEURIAL SKILLS
AGE 7-15 YEARS
CLAIM YOUR $10 ROBLOX/AMAZON/MINECRAFT GIFT
CARD BY ATTENDING A FREE TRIAL CLASS
BOOK A FREE ROBOTICS TRIAL
Select Your Subject of Choice

    Please enter name

    Please enter email


    Existing knowledge in programming/robotics

    *No credit card required.

    How to Make a Solar Oven Science Fair Project: Step-by-Step Guide

    |

    Few experiments capture the imagination quite like a solar oven science fair project. It’s part engineering challenge, part physics lesson, and part kitchen magic; you’re literally cooking with sunlight. If you’ve been assigned (or have chosen) this project, you’re in for one of the most rewarding builds in the science fair world. This guide walks you through the science, the build, the testing process, and a handful of unique twists that will help your project stand out from the dozen other shoebox cookers on the table.

    Whether you’re searching for a straightforward science project solar oven idea or want to push into more advanced solar-powered oven science project territory with real data logging and multiple variables, this article has you covered from start to blue ribbon.

    Why a Solar Oven Makes a Brilliant Science Fair Project

    A solar oven science fair project isn't just about building a box that gets warm. It's a hands-on demonstration of thermodynamics, optical physics, and renewable energy, three topics judges love because they connect directly to real-world engineering and sustainability. Unlike many science fair experiments that live and die in a single afternoon, a solar oven produces something tangible: melted chocolate, a gooey s'more, or a perfectly baked cookie, all powered by nothing but the sun.

    • Judges love visible results: A rising thermometer or a melting marshmallow is instant, undeniable proof your hypothesis worked.
    • It's genuinely interdisciplinary:
      You'll touch on heat transfer, reflection and absorption of light, insulation, and even a little material science.
    • It scales to any grade level:
      A 4th grader can build a pizza-box cooker; a high schooler can build a parabolic reflector with a data logger and regression analysis.
    • It ties into real-world impact:
      Solar cookers are used today in developing regions to reduce fuel costs and deforestation — a powerful angle for your project's introduction or conclusion.


    The Science Behind a Solar Oven (Keep This in Your Report)

    Every successful solar oven science project relies on three fundamental physics principles working together. Understanding these concepts not only improves your project but also helps you explain the science confidently during your presentation or report.

    1

    Reflection

    Reflective materials such as aluminium foil or Mylar bounce sunlight toward the centre of the oven. By concentrating more sunlight into one area, the oven captures more solar energy and produces higher temperatures.

    2

    Absorption

    Dark, matte surfaces absorb much more sunlight than shiny materials. The absorbed light energy is converted into heat, which is why the cooking surface inside most solar ovens is black.

    3

    Insulation (The Greenhouse Effect)

    A clear plastic or glass cover traps warm air inside the oven, reducing heat loss. Similar to a greenhouse, this insulation keeps temperatures rising until the oven becomes hot enough to cook food.

    Science Fair Tip: Write a Strong Hypothesis

    • State a clear, measurable prediction such as: "If I increase the number of reflective panels on my solar oven, then the internal temperature will increase because more sunlight will be directed toward the cooking surface."
    • Judges usually reward projects that include a specific, testable hypothesis rather than simply describing how the solar oven was built.

    Types of Solar Ovens: Which Should You Build?

    Before collecting your materials, choose a solar oven design that matches your experience level, available time, and science fair goals. Each design offers different advantages depending on the project requirements.

    Oven Type Best For Typical Temperature
    Box Cooker Easiest to build and ideal for beginners. 150–175°F (65–80°C)
    Panel Cooker Lightweight, inexpensive, and portable. 180–200°F (82–93°C)
    Parabolic Cooker Fastest cooking and highest temperatures. 250–350°F (121–177°C)

    Materials You'll Need

    Most of these materials cost less than £15 altogether and can usually be found around the house, at school, or in a local craft store.

    A cardboard box (pizza box or small shipping box)
    Aluminium foil
    Plastic wrap or a clear plastic sheet protector
    Black construction paper or black paint
    Clear tape and a glue stick
    Ruler and craft knife (adult supervision required)
    Wooden skewer or dowel for supporting the reflector
    Cooking thermometer or digital temperature probe
    Newspaper or foam sheets for insulation (optional)
    Stopwatch, timer, and notebook for recording observations

    Preparation Tip

    Gather every material before you begin building. Having everything ready makes the construction process smoother and helps you focus on testing, recording temperatures, and improving your solar oven design during the experiment.

    Step-by-Step: Building the Classic Box Solar Oven

    The classic box solar oven is one of the easiest and most effective science fair projects. Follow these simple steps to build a solar cooker that can reach impressive temperatures using only sunlight.

    1

    Create the Reflector Flap

    Cut a flap into the lid of your cardboard box, leaving one side attached as a hinge. Fold it upward so it can reflect sunlight into the cooking chamber.

    2

    Cover the Flap with Aluminium Foil

    Glue aluminium foil onto the inside of the reflector with the shiny side facing outward. Smooth away wrinkles so the reflected sunlight is concentrated efficiently.

    3

    Add Insulation

    Fill the walls and bottom of the box with crumpled newspaper or foam board to reduce heat loss. Cover the insulation neatly with foil if required.

    4

    Create the Cooking Surface

    Place black construction paper or a black-painted tray inside the base of the box. Dark colours absorb sunlight more efficiently, producing greater heat.

    5

    Seal the Oven

    Stretch clear plastic wrap tightly across the opening and secure it with tape. This transparent layer traps warm air inside, creating the greenhouse effect.

    6

    Prop Up the Reflector

    Use a wooden skewer or dowel to hold the reflector at roughly a 45-degree angle so it directs maximum sunlight into the box.

    7

    Test Your Solar Oven

    Place the oven in direct sunlight, insert a thermometer through a small opening, start your timer, and record the temperature at regular intervals.

    Builder's Tips for Better Results

    • Choose a bright, cloud-free day for testing.
    • Adjust the reflector every 20–30 minutes as the sun moves.
    • Seal all gaps carefully to prevent heat from escaping.
    • Record temperature changes every 5–10 minutes for accurate science fair data.
    • Take photos of each construction step for your final presentation board.

    Unique Ideas to Make Your Project Stand Out

    Anyone can build a foil-lined pizza box. To win over judges — or just make the project more exciting — try adding one of these unique twists to your solar oven science fair project.

    01

    Compare Reflector Shapes

    Build three identical boxes but test flat, curved, and parabolic (satellite-dish-style) reflectors side by side to see which concentrates heat fastest.

    02

    Test Insulation Materials

    Compare newspaper, bubble wrap, foam board, and cotton batting head-to-head as insulators, graphing temperature over time for each.

    03

    Add a Real Data Logger

    Use a low-cost temperature sensor (like a DS18B20 with an Arduino, or a smart meat thermometer) to log temperature every minute automatically instead of by hand — this alone impresses most judges.

    04

    Explore Color Science

    Test black, dark blue, dark green, and white absorber surfaces to show how absorption efficiency changes with color, tying in a lesson on the visible light spectrum.

    05

    Go Cross-Cultural

    Research and build a simplified version of a real-world solar cooker used in places like India or Kenya (such as a solar funnel cooker), and connect your build to its humanitarian use.

    06

    Measure Cooking Efficiency

    Time how long it takes to melt a fixed amount of chocolate or cook an egg, and calculate approximate energy input using local solar irradiance data (available free online for most cities).

    07

    Test the Angle of the Sun

    Run identical trials at 10 AM, 12 PM, and 3 PM to demonstrate how the sun's angle affects cooking efficiency — a great tie-in to Earth science.

    How to Test and Collect Strong Data

    The difference between an average solar oven science fair project and an award-winning one almost always comes down to data quality. Here’s how to test like a scientist:

    1. Record a baseline

    Note the ambient (outside shade) temperature before you begin, and record local weather conditions (sunny, partly cloudy, wind speed) for every trial.

    2. Take readings at regular intervals

    Every 2-5 minutes for at least 45-60 minutes is standard. Consistency matters more than frequency.

    3. Run at least 3 trials per variable

    One test proves nothing; three or more trials let you calculate an average and show your results weren't a fluke.

    4. Graph everything

    A simple line graph of temperature vs. time, with one line per variable tested, is the single most persuasive visual you can put on your board.

    5. Control your variables

    Test at the same time of day, same location, and same weather conditions whenever possible so you're only measuring the change you intend to measure.

    Common Mistakes to Avoid

    • Testing in partial shade or near buildings that cast shadows during part of the trial.
    • Forgetting to re-aim the oven as the sun moves (it shifts more than people expect, even in 20 minutes).
    • Leaving gaps in the plastic wrap seal, which lets heat escape.
    • Using shiny foil with the dull side facing outward (dull side reflects less light).
    • Skipping a control trial, making it impossible to prove your variable actually caused the change.
    • Not wearing sunglasses or gloves when checking a hot solar oven — safety first!

    Presenting Your Solar Oven Project at the Science Fair

    A great build deserves a great presentation. Structure your board and verbal explanation around the classic scientific method, and don't be afraid to let your solar oven sit on the table as a live, working model.

    Step 1
    Question: What factor most affects how hot a solar oven gets (or how fast it cooks food)?
    Step 2
    Hypothesis: Your specific, testable prediction.
    Step 3
    Materials & Procedure: List everything, with photos of the build process — judges love seeing the engineering steps.
    Step 4
    Data: Tables and graphs, clearly labeled with units (°F or °C, minutes).
    Step 5
    Conclusion: State whether your hypothesis was supported, explain why using the physics of reflection, absorption, and insulation, and suggest one real improvement you'd make next time.
    Step 6
    Real-World Connection: A sentence or two on how solar cookers help reduce fuel costs and emissions worldwide adds depth and shows big-picture thinking.

    Bonus: Live Demo Idea

    Bring a small bag of marshmallows or a chocolate bar to your fair. If your solar oven is set up and the sun cooperates, a live melting demo in front of judges is memorable, fun, and instantly proves your project works.

    Conclusion

    A solar oven science project is one of the rare assignments that's genuinely fun to build, easy to explain, and impressive to watch in action. By grounding your build in real physics, collecting careful data, and adding one creative twist, whether that's a data logger, a color comparison, or a real-world connection to solar cooking around the globe, you'll turn a simple cardboard box into a science fair project people actually remember. Now grab your foil, find a sunny spot, and start cooking up something great. Good luck!

    Want to make your child future-ready with Robotics? Moonpreneur offers a tailor-made program. Reserve a spot in our free 60-minute workshop today and introduce them to the amazing world of robotics and innovations!

    Frequently Asked Questions

    How hot can a homemade solar oven actually get?
    A basic box cooker typically reaches 150–175°F (65–80°C), enough to melt chocolate or soften s'mores. A well-insulated panel cooker can reach 180–200°F (82–93°C), and a parabolic design can exceed 250°F (121°C) — hot enough to fry an egg.
    How long does a solar oven science project take to build?
    A basic box cooker can be built in under an hour. More advanced designs with data logging or multiple reflector comparisons may take a weekend, including testing time on a sunny day.
    What's the best time of day to test a solar oven?
    Between 11 AM and 2 PM, when the sun is highest in the sky, gives the most consistent and highest-temperature results for any science project solar oven design.
    Can I do this project if it's cloudy or winter where I live?
    Yes — just plan around a sunny window and consider running your comparative trials over several sunny days rather than in a single sitting. You can also supplement with a heat lamp for consistent indoor testing, clearly noting this as a limitation in your report.
    Anshika Kanwar

    Anshika Kanwar

    I am someone who absolutely loves learning new things. Moreover, am always eager to dive into new subjects. Writing is my way of painting with words, It's a way for me to share the things I've learned and experienced and find joy in exploring the world of knowledge.
    Subscribe
    Notify of
    guest

    0 Comments
    Inline Feedbacks
    View all comments

    RELATED ARTICLES

    Explore by Category

    MOST POPULAR

    GIVE A GIFT OF $10
    MINECRAFT GIFT
    TO YOUR CHILD

    JOIN A FREE TRIAL CLASS

    FREE EBOOK AND STORYBOOK

    Download "Treasure Hunt" - A Robotics Workbook for Kids (8-15 YEARS)
    Download Now

    Robotics Ebook And 3-Part Video Series

    Download Now