The Embedded Learner Basic Board is a DIY prototyping kit developed by Moonpreneur, designed to provide hands-on experience in embedded systems and coding. The board offers a practical environment for exploring robotics, microcontroller-based applications, circuit design, and programming.


![]()


The onboard electronic components makes the learning very easy and interesting.
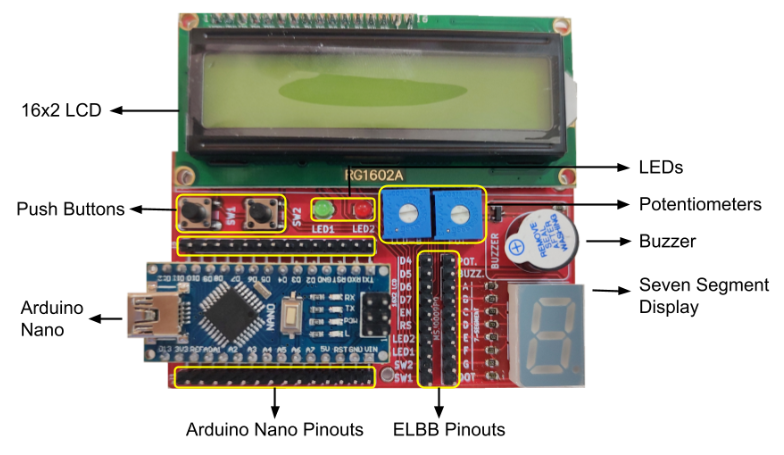
The 16pins of LCD Display are mapped to 6 pins of ELBB pinout panel reducing the havoc of wiring. Also the onboard potentiometer come in handy when correct contrast is needed.

The pinouts of the Seven Segment Display are labeled which makes it easy to write the code for displaying the numerical digits from 0-9 and alphabets from A-F.
The frequently encountered indicators in daily routine, the LED and buzzers, are also available in board which plays a vital role in many projects. The board is completed by the push buttons and potentiometer which give the way to learn both digital and analog data, an essential part of embedded electronics.
Now that you have the Embedded Learner Basic Kit, let’s bring the Traffic Light Pole to life using simple Arduino code!
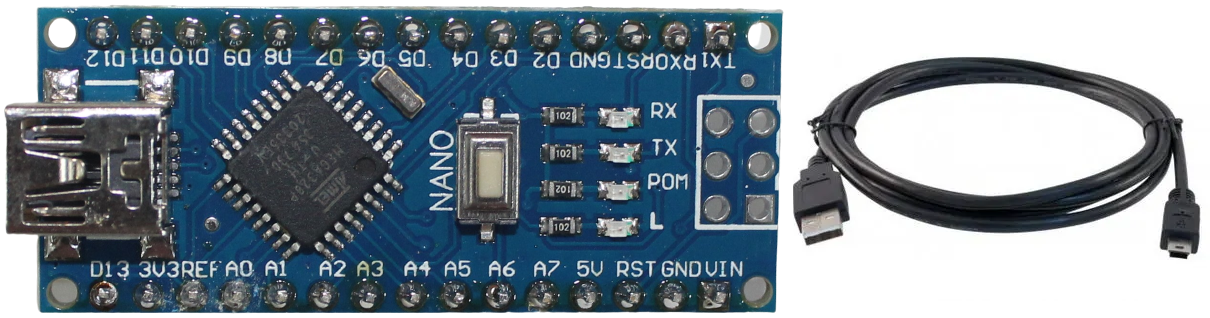
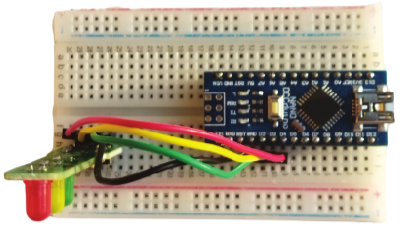
We will build a traffic light simulation prototype using the Arduino Nano and a traffic light pole.
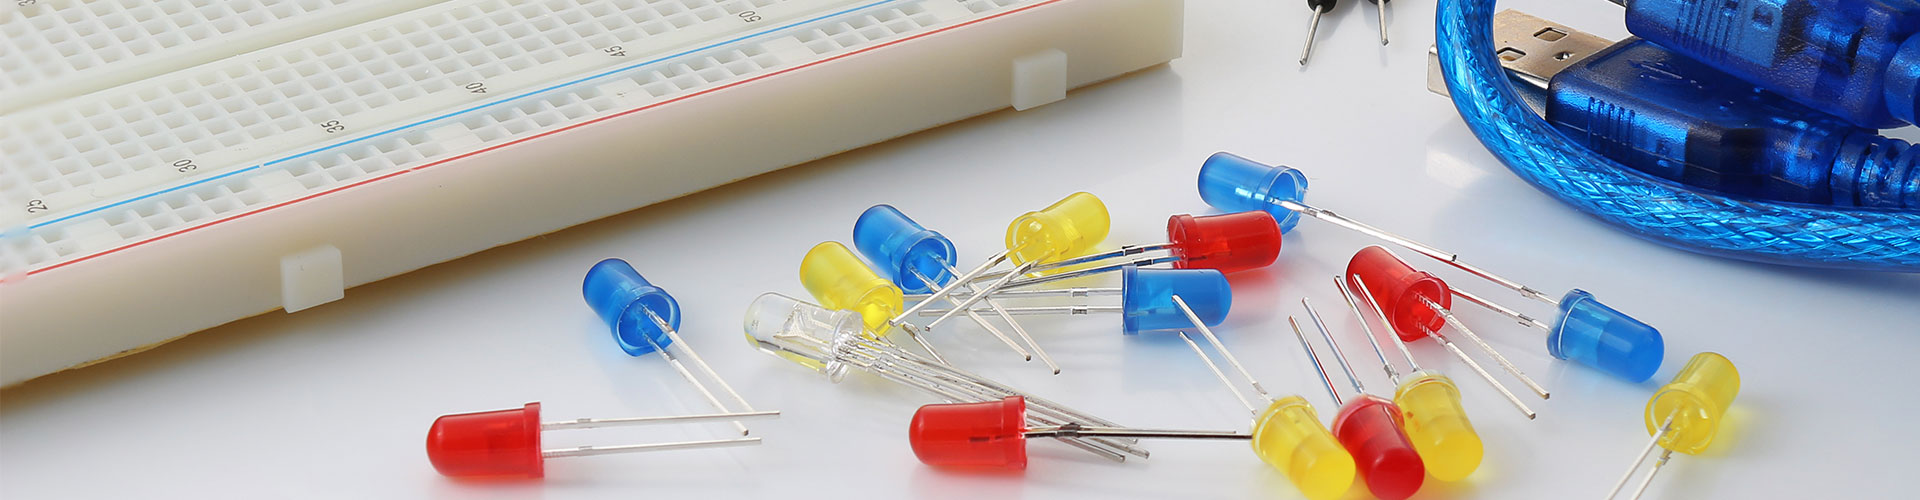
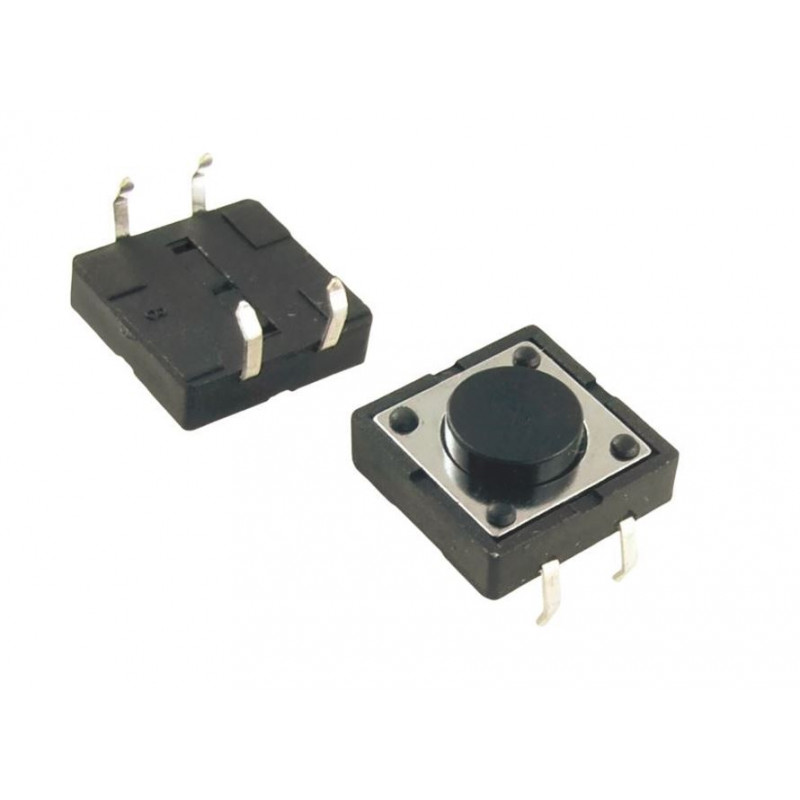
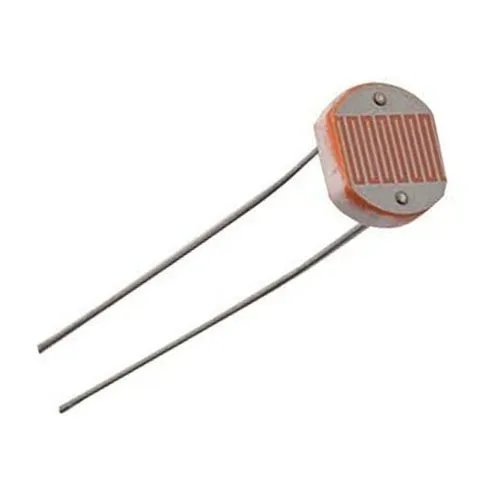
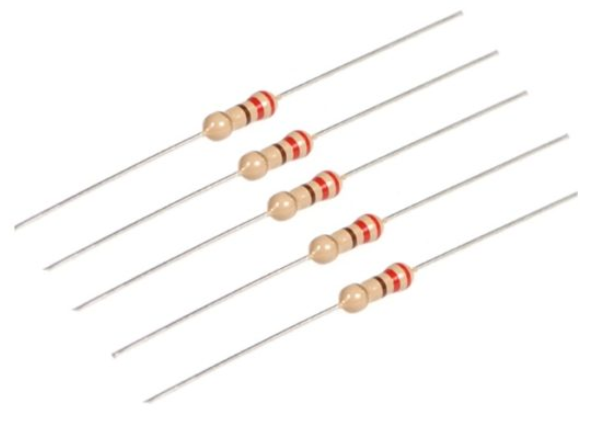
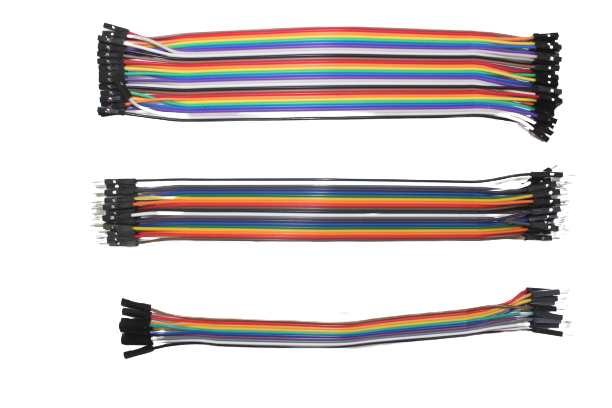
🧰 What You Need from the Kit:
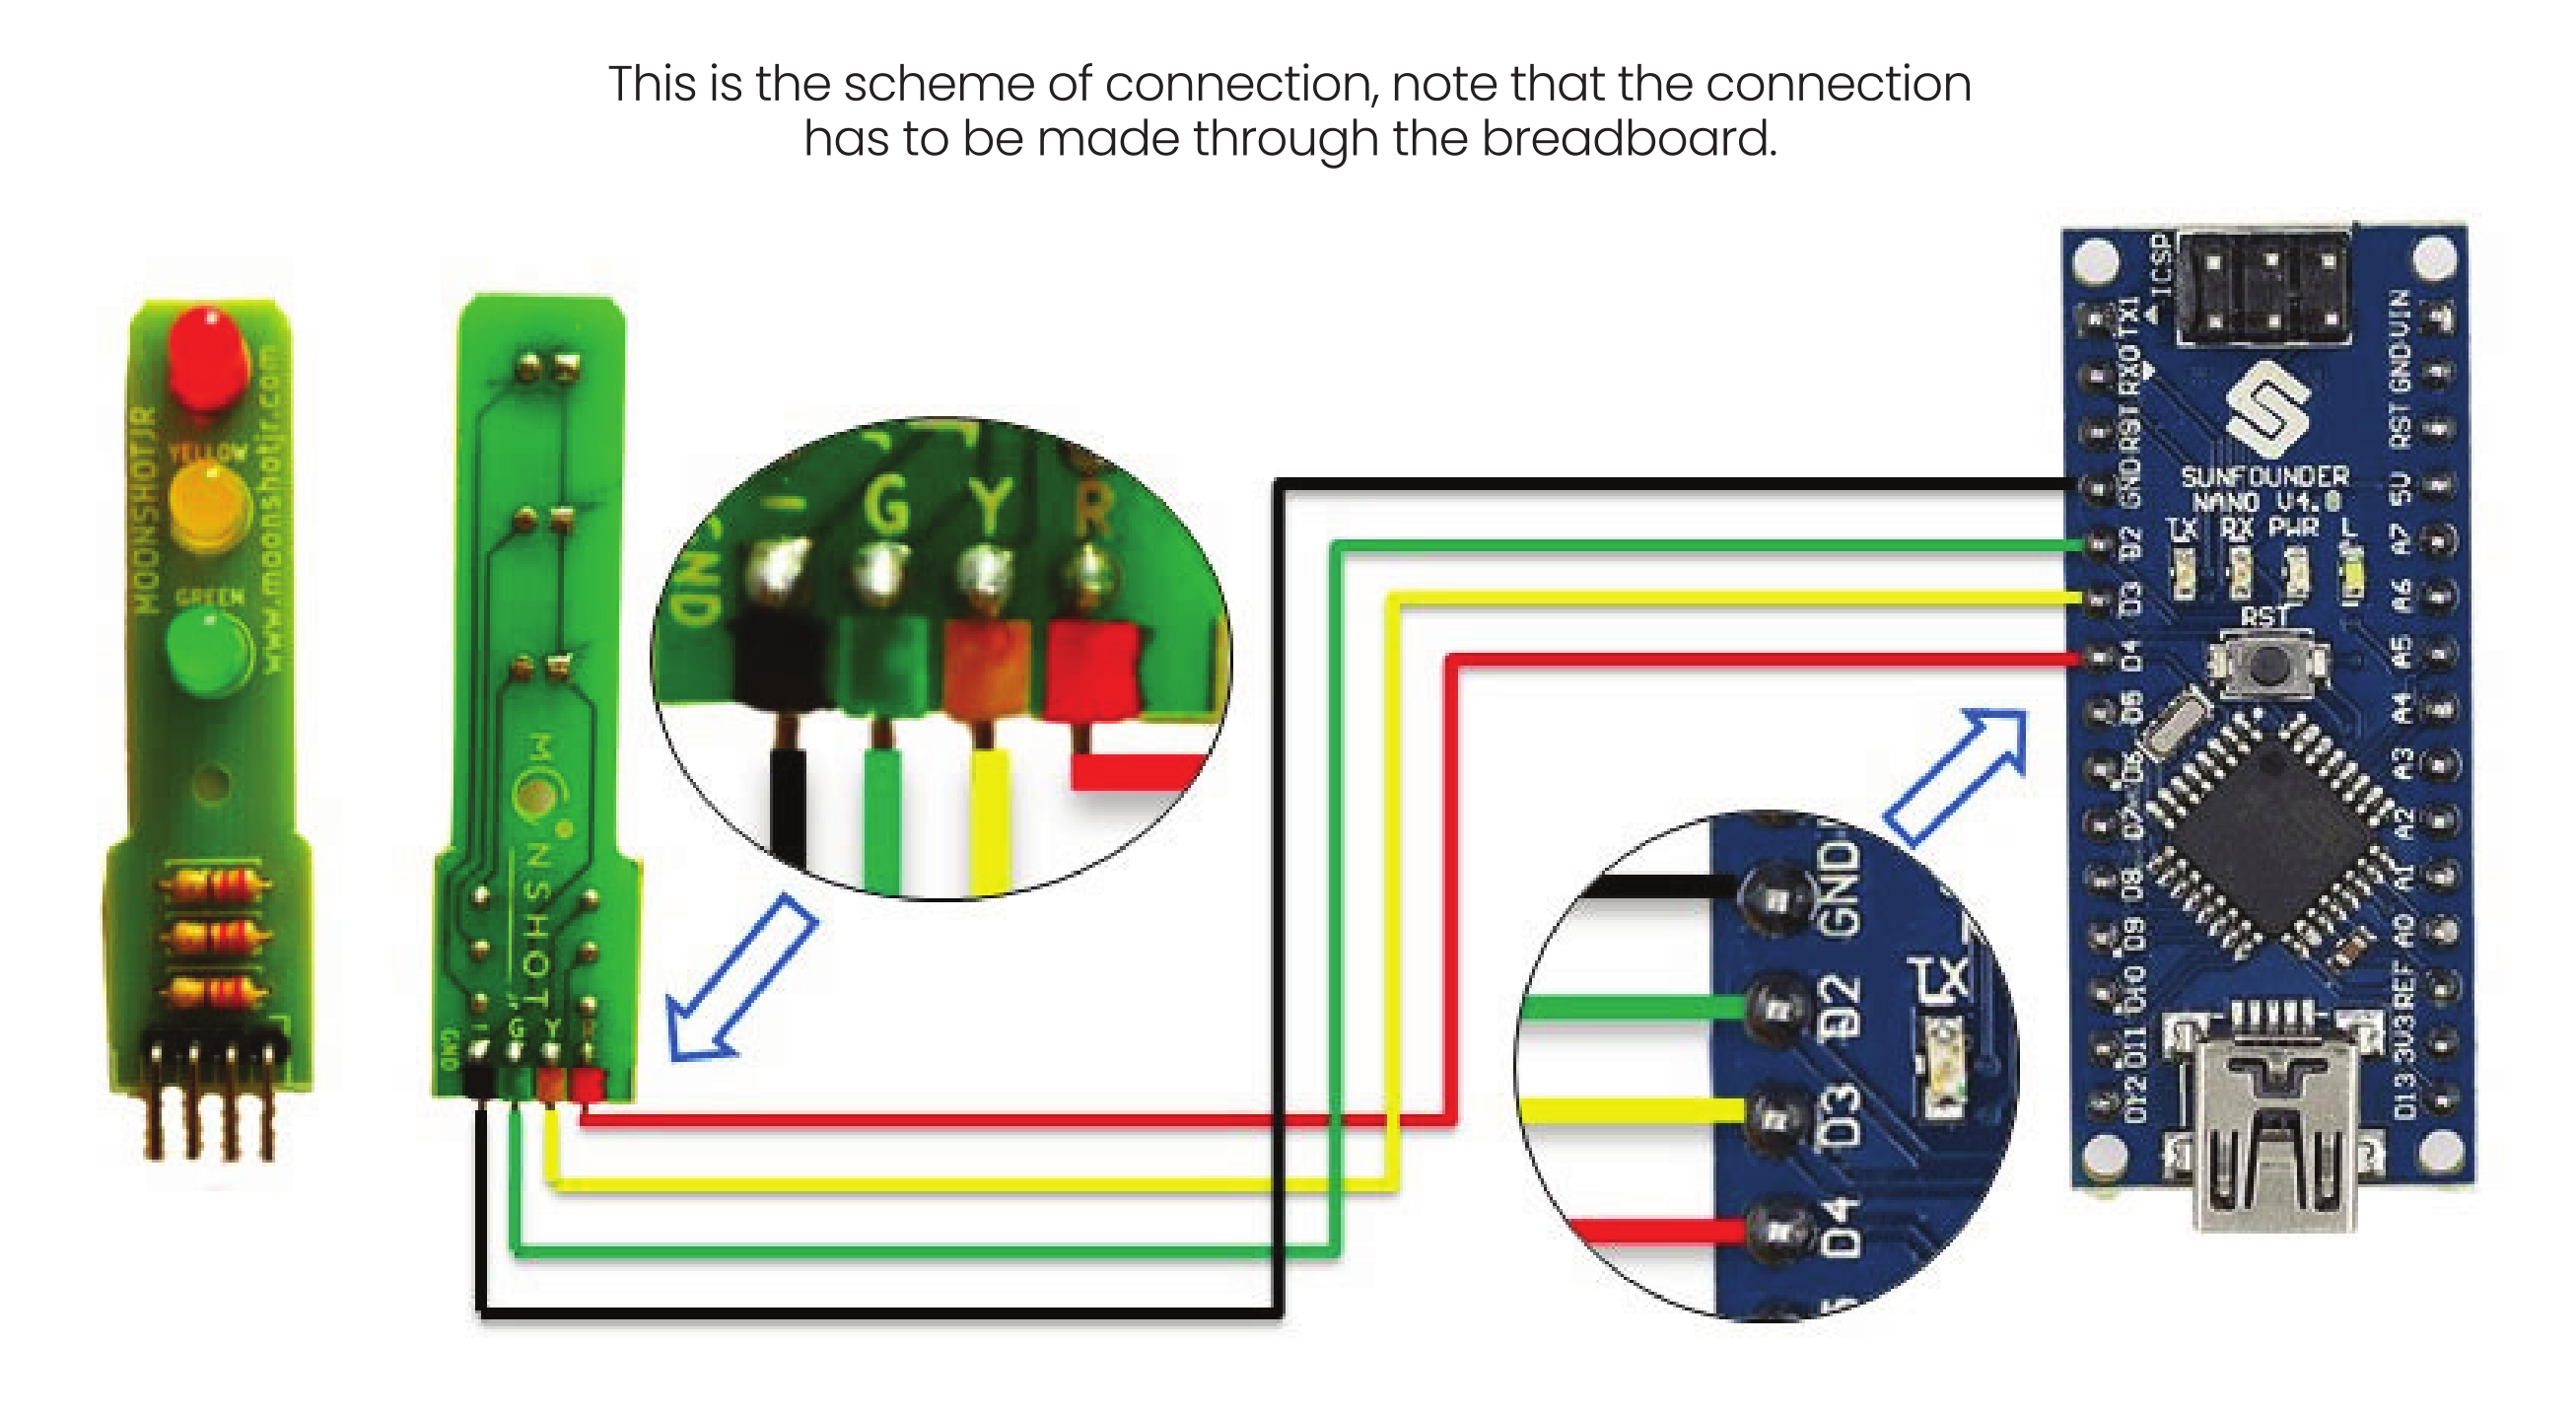
🔌 How to Connect:
Insert your Arduino Nano and Traffic Light Pole into the breadboard. 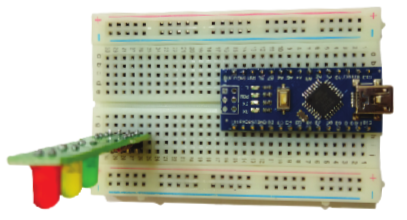
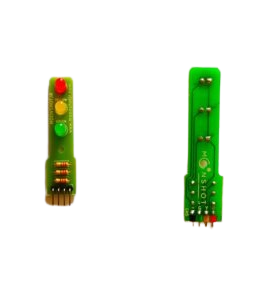
Traffic Light Pole Connections:
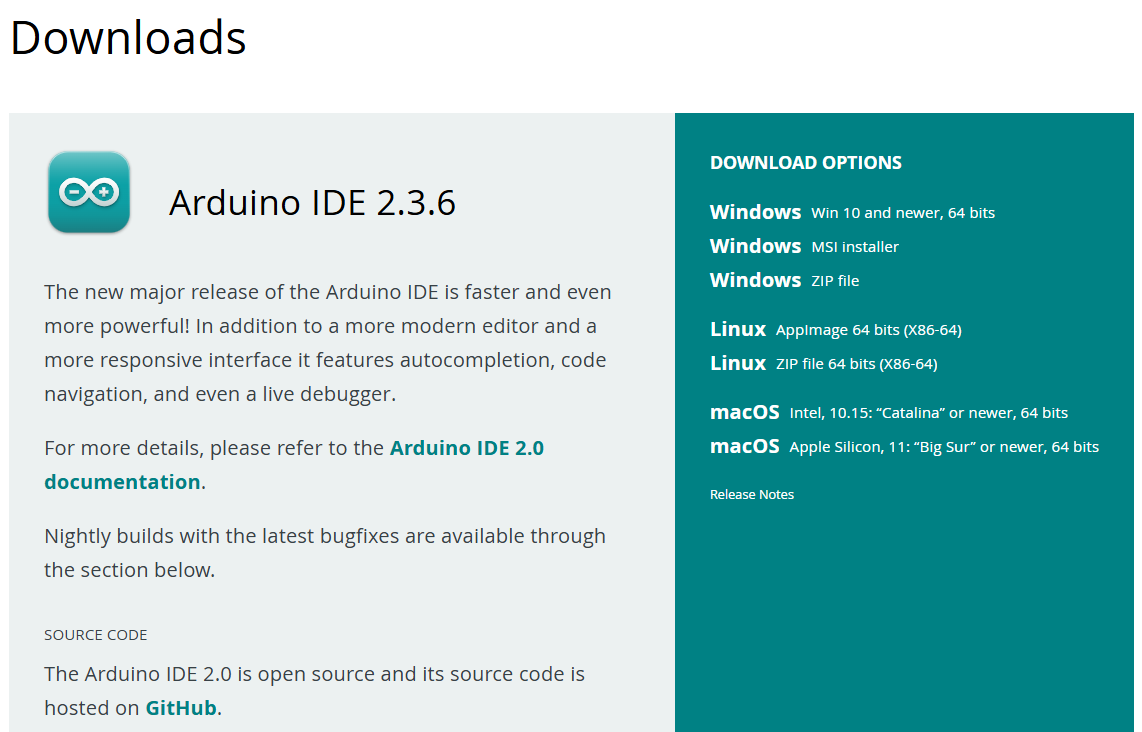
💻 Installing the Arduino IDE
Before writing any code, you’ll need to install the Arduino IDE (Integrated Development Environment) — the software used to write, upload, and run programs on your Arduino Nano.
// C++ code
// Define LED pin numbers
#define GREEN 2
#define YELLOW 3
#define RED 4

void setup() {
  // Set pins as outputs
  pinMode(GREEN, OUTPUT);
  pinMode(YELLOW, OUTPUT);
  pinMode(RED, OUTPUT);
}

void loop() {
  // Red light on
  digitalWrite(RED, HIGH);
  digitalWrite(YELLOW, LOW);
  digitalWrite(GREEN, LOW);
  delay(4000);

  // Green light on
  digitalWrite(GREEN, HIGH);
  digitalWrite(RED, LOW);
  delay(4000);

  // Yellow light on
  digitalWrite(YELLOW, HIGH);
  digitalWrite(GREEN, LOW);
  delay(1500);
}
🚀 Upload & Watch the Magic!
🧠 Tip for Tinkerers:
Try adjusting the lights stay on for longer or shorter times.

