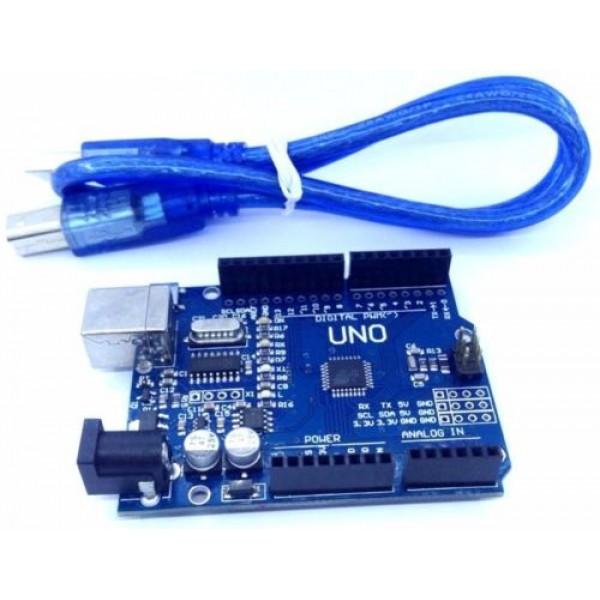
An Arduino is an open-source hardware and software company engaged in hardware development boards and software that are easy to use and can be used to design and build electronic devices and projects. The Arduino is based on the AVR microcontroller family of Atmel. It can be programmed by using the STK- 500 protocol of Atmel. The STK-500 protocol was originally designed for a serial rs-232 connection but now a USB to serial converter is used to provide a direct connection with the PC. To clone Arduino, a CH340 is used.
Mostly, people use the official integrated development environment (IDE) for the Arduino. The Arduino IDE software is written in Java and works on various platforms like Linux, Windows, and Mac operating systems. It enables one to write a code by highlighting the syntax which makes it easier to code and also allows one to upload the code with a simple click.
Steps to upload a program on Arduino Uno using a system with macOS:
STEP 1: Open the led blink example.
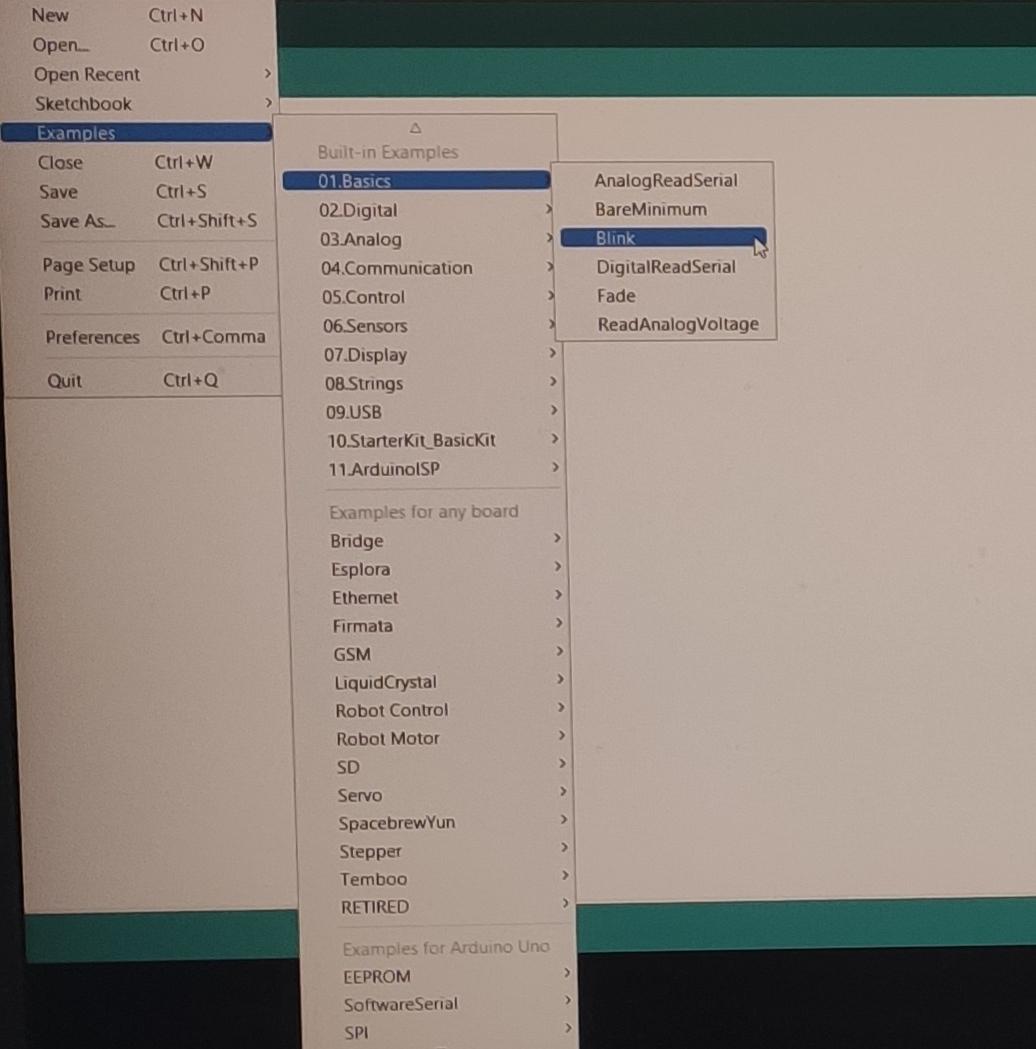
The Arduino IDE will open up a window containing the example code:
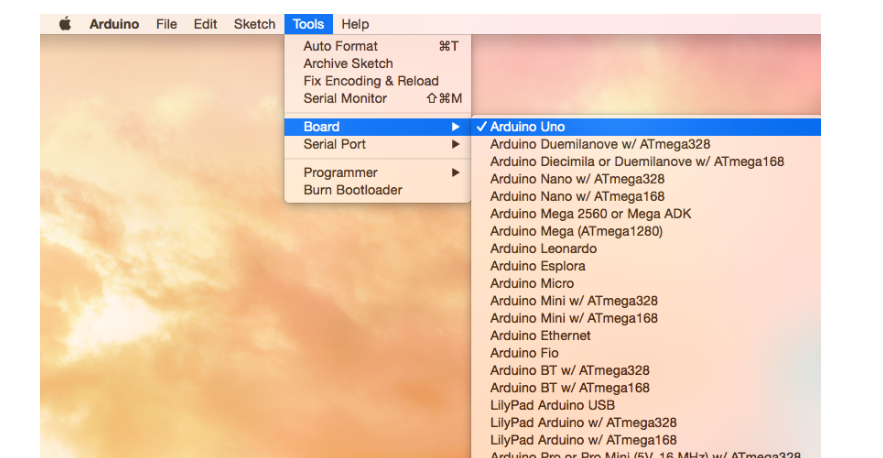
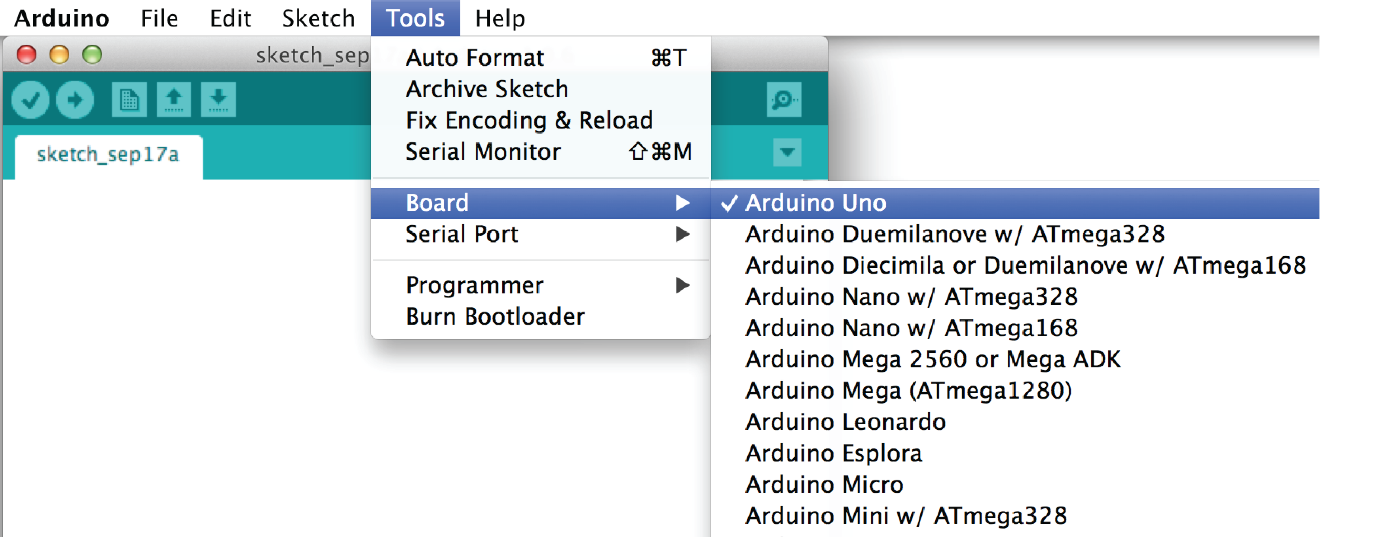
STEP 2: Connect the Board to configure it.
Select the correct board which you are connecting to your computer.
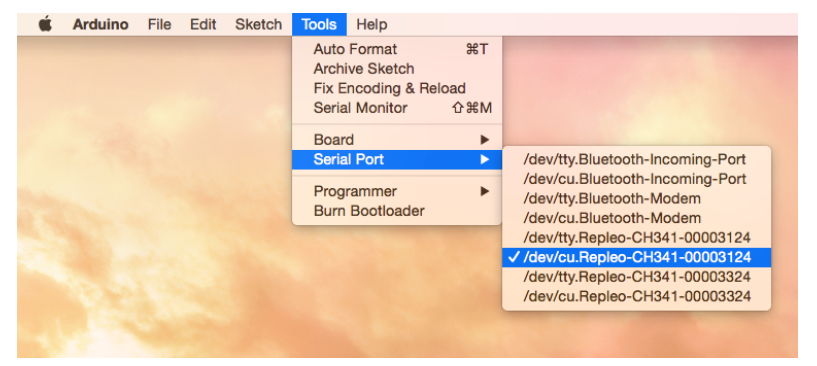
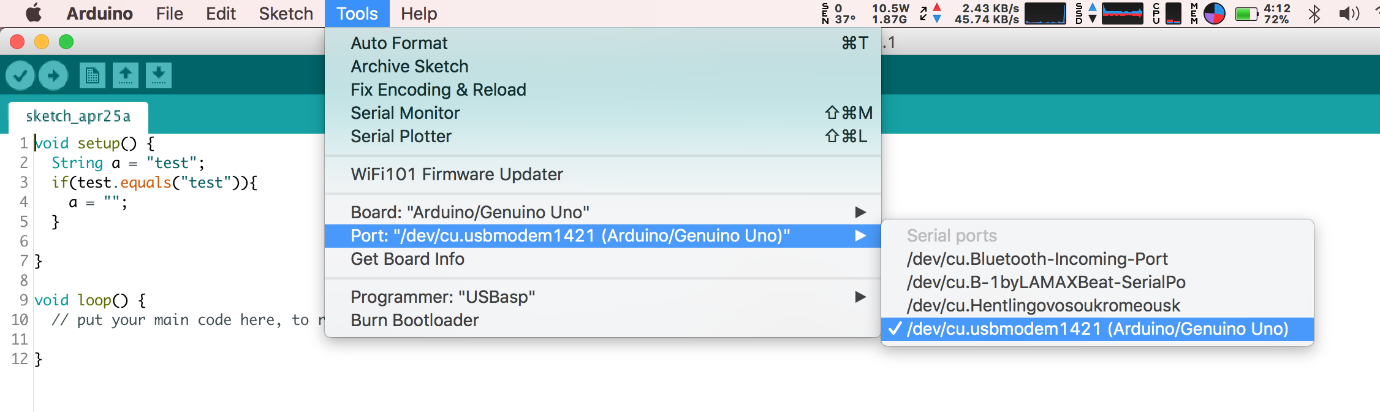
STEP 3: Selecting the Serial handle.
Select the correct serial port to which the Arduino is connected.
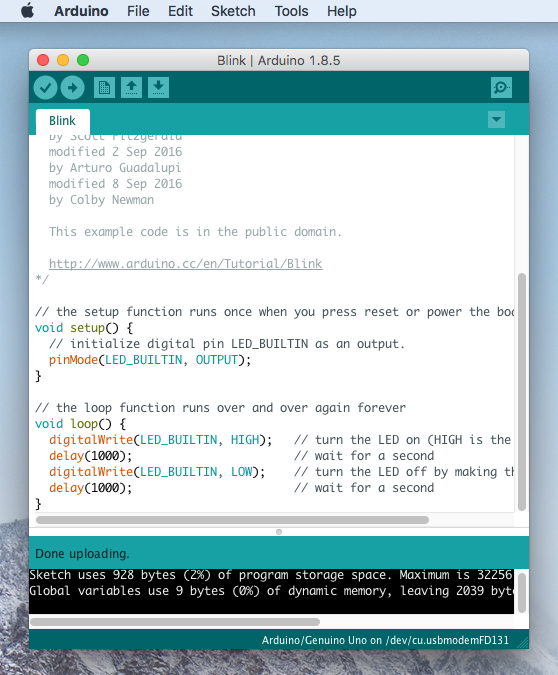
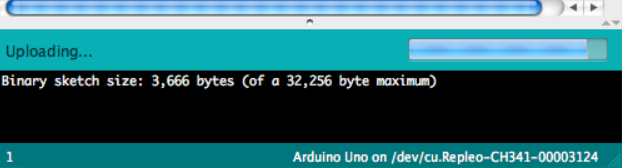
STEP 4: Program the Arduino Board.
Now, we are ready to upload the code to the board. Press the upload button in the editor (arrow pointing towards the right). After this button is pressed, the console window shows the compiling process and finally uploads the code.
STEP 4: Ready with output
You are finished uploading the code and the inbuilt LED on the board starts blinking.
1. Check the USB cable is plugged in properly.
Check if the USB cable is attached properly and should not be loose. So, please check if it is connected properly and also press it in more if required.
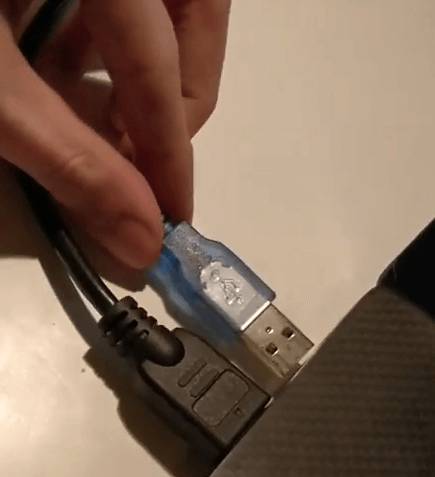
2. Use an alternative USB cable to connect the Arduino Board
Some USB cables are only meant for charging and do not support or allow serial communications. So, some people might have to change the cable to avoid such uploading errors.
3. Try unplugging all the board pins
There may be cases where if you unplug the pins from the board and then upload the code without connecting them. You can attach the pins back into the board again after you upload the code.
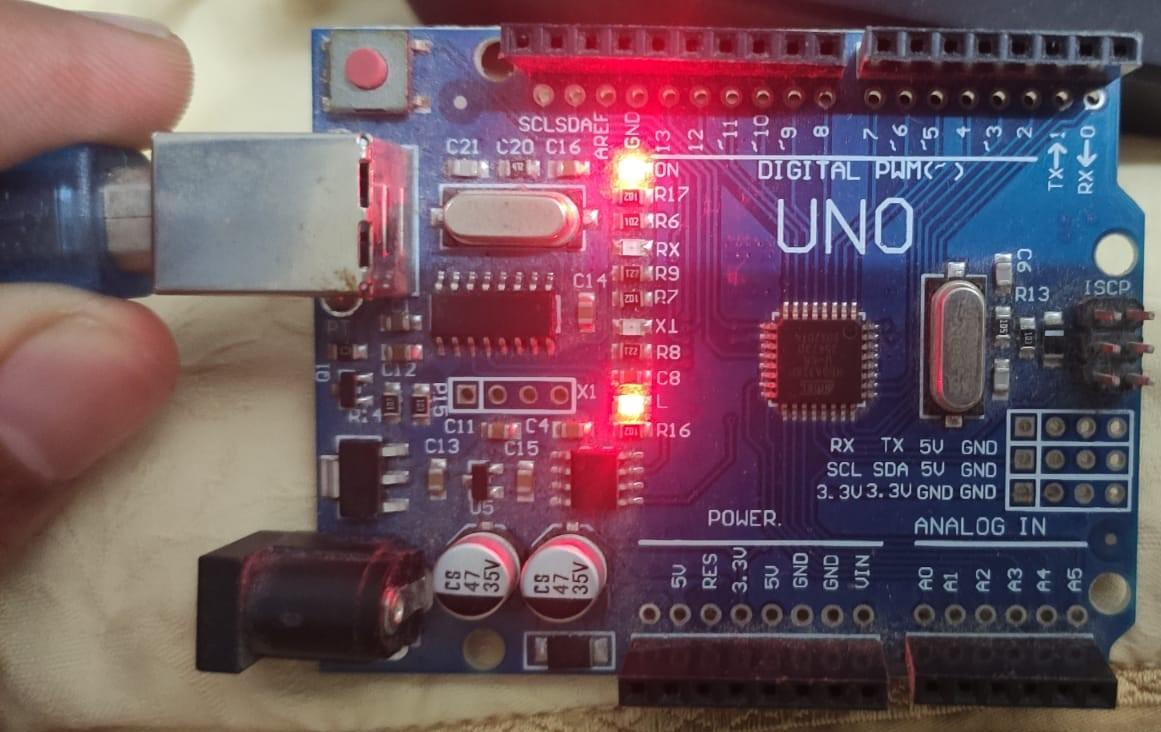
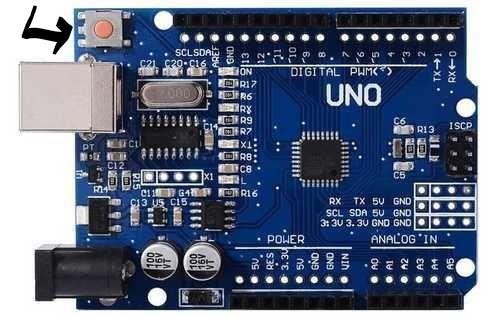
4. Resetting the board
To reset the board, you have to press the red push button next to the USB port of the Arduino board when connected to the system. The LED on the board will blink when you reset it. If the board fails to reset, we might need to burn the bootloader to the board.
5. Selecting the right board
Check you have selected the Arduino board you are utilizing. To do that:
6. Selecting the correct port, you are utilizing
You need to ensure that the correct port is selected to upload programs.
Sometimes the computer will not detect an Arduino board (probably SMD) even when connected properly through a USB cable. This problem might occur in SMD-type boards because of the difference in the USB to serial converter chip. This is called CH340 USB to serial converter chip.
To make it detectable in such cases, you have to install a CH340 driver manually. Following are the steps:
Related Article: List of Arduino UNO Related Errors in Windows and Possible Solutions

Akshay Tambe works as a Project Guide at Moonpreneur and holds nearly four years of expertise in core electronics and coding with prestigious companies. He has a wealth of information on several robotic platforms and stem-related areas. He has created STEM resources for instructors and students. Also, he has given technical presentations to domestic and international students.
